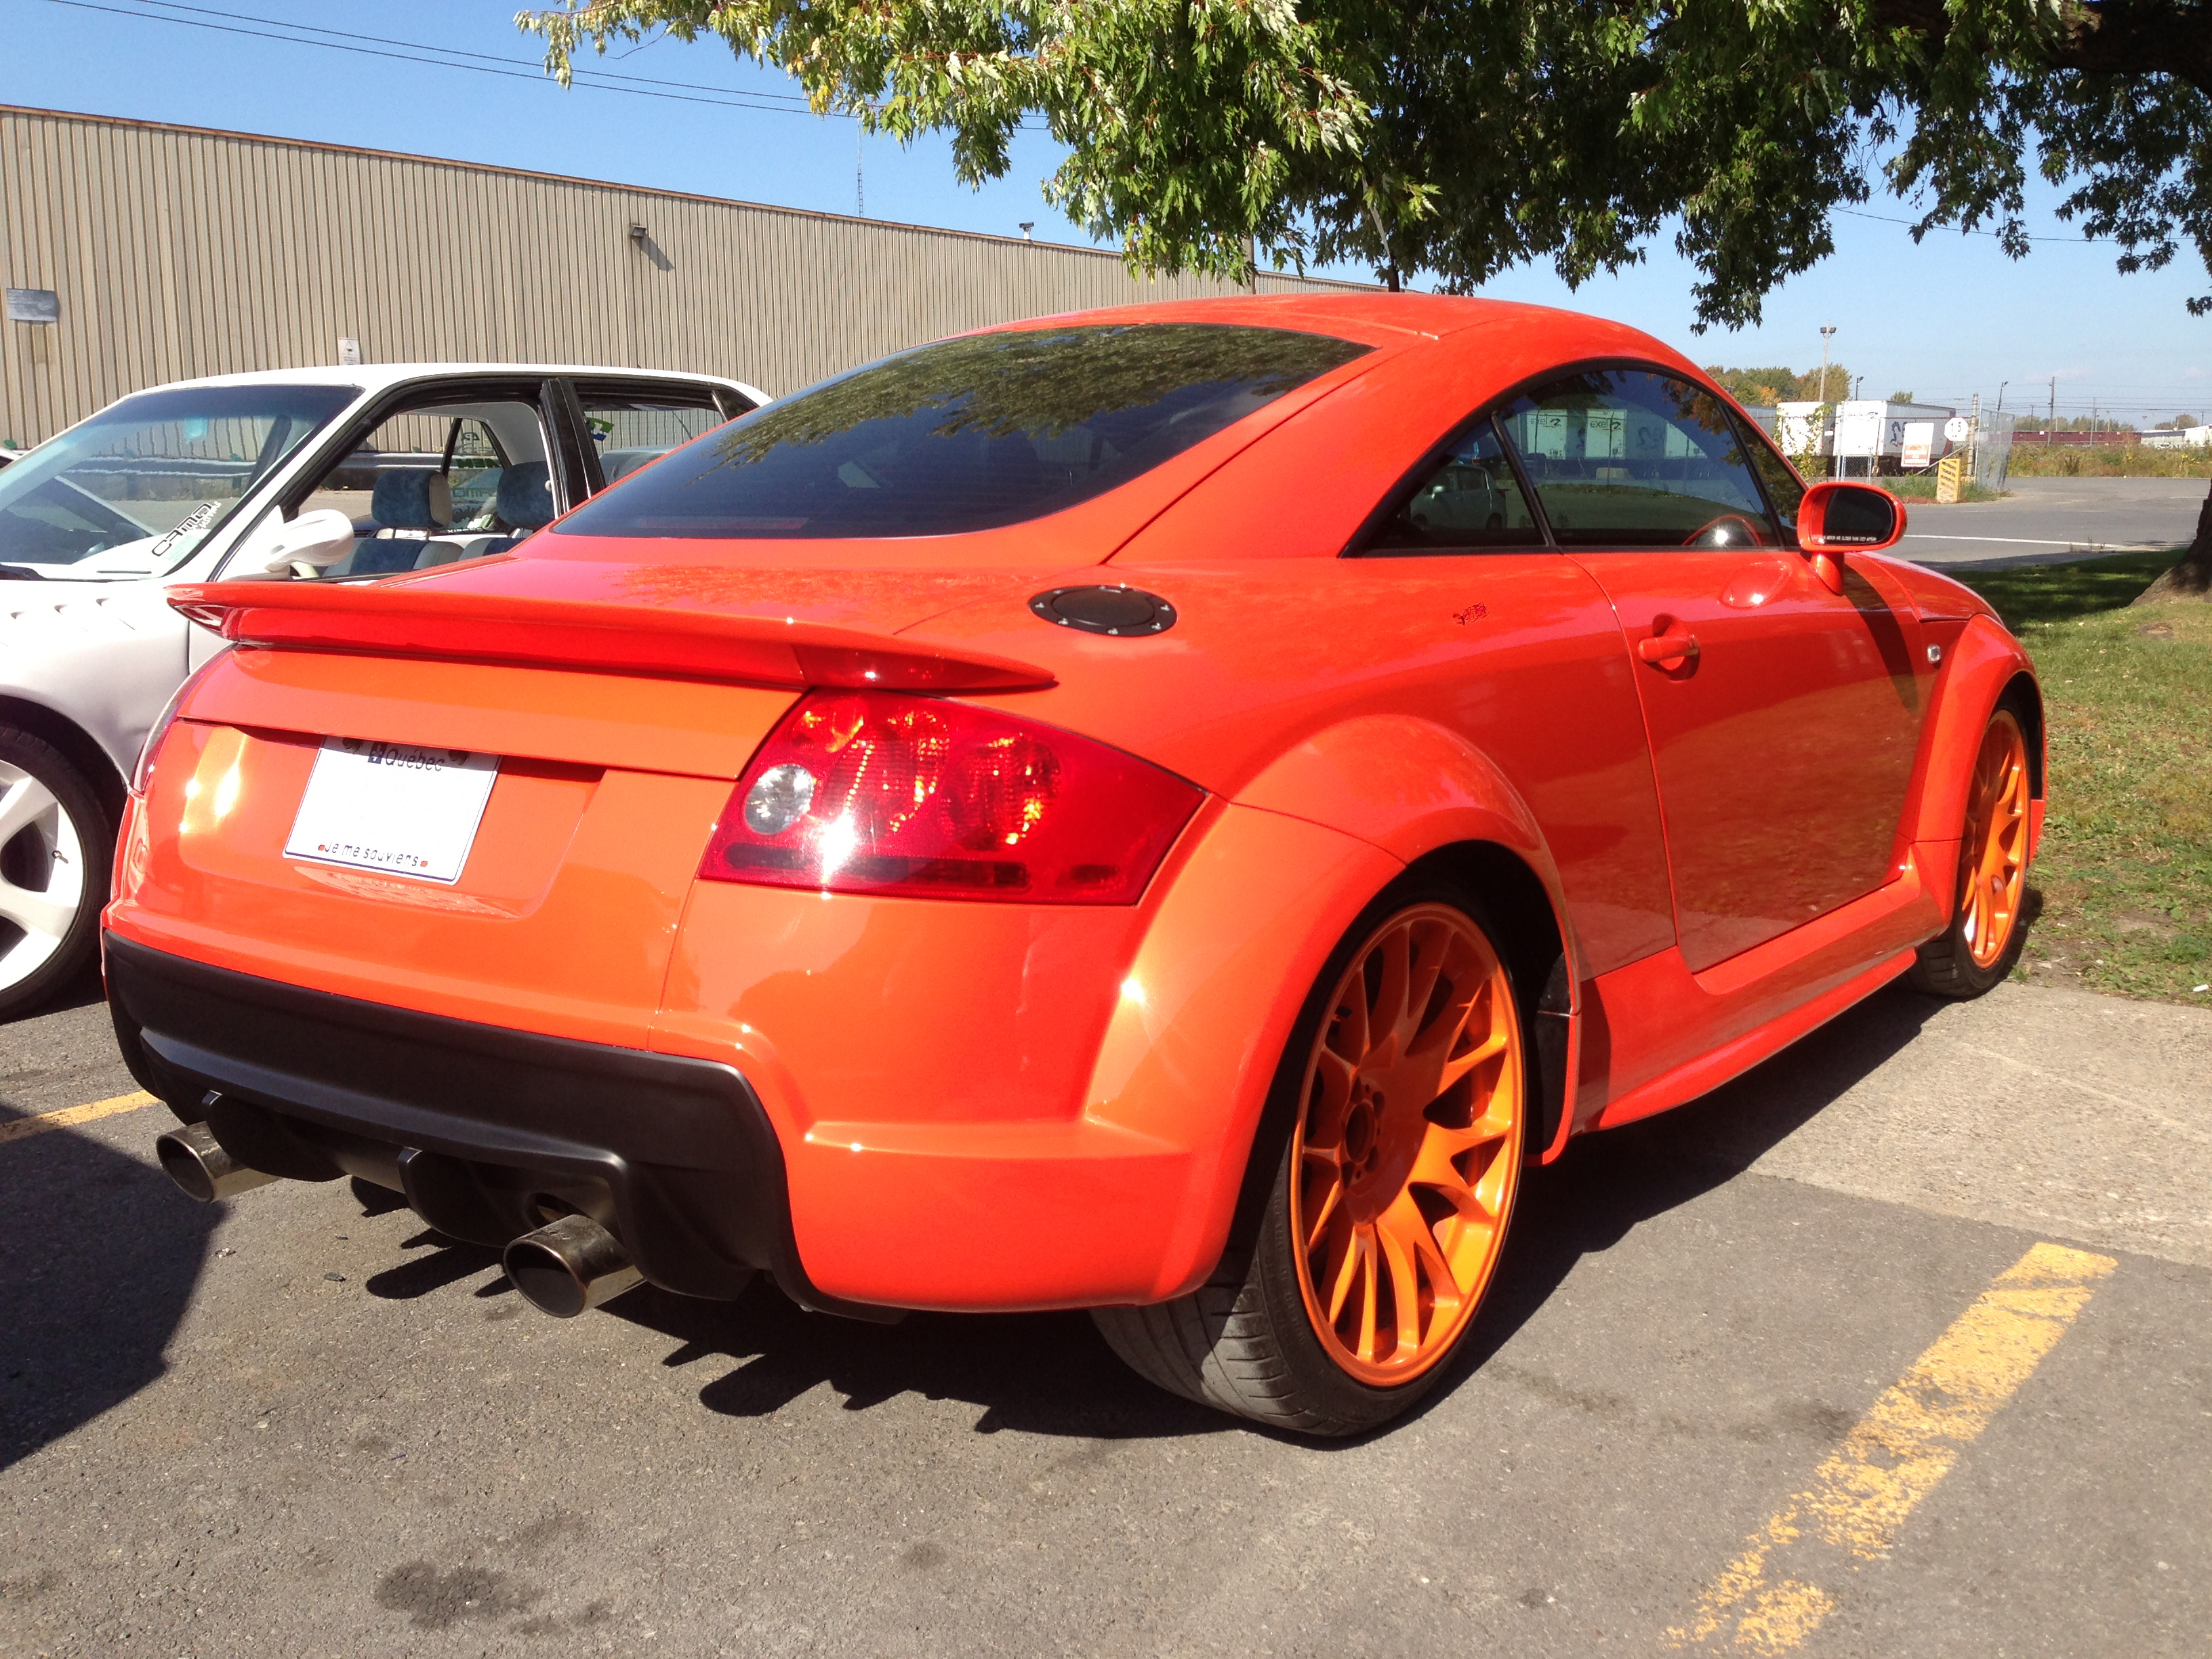
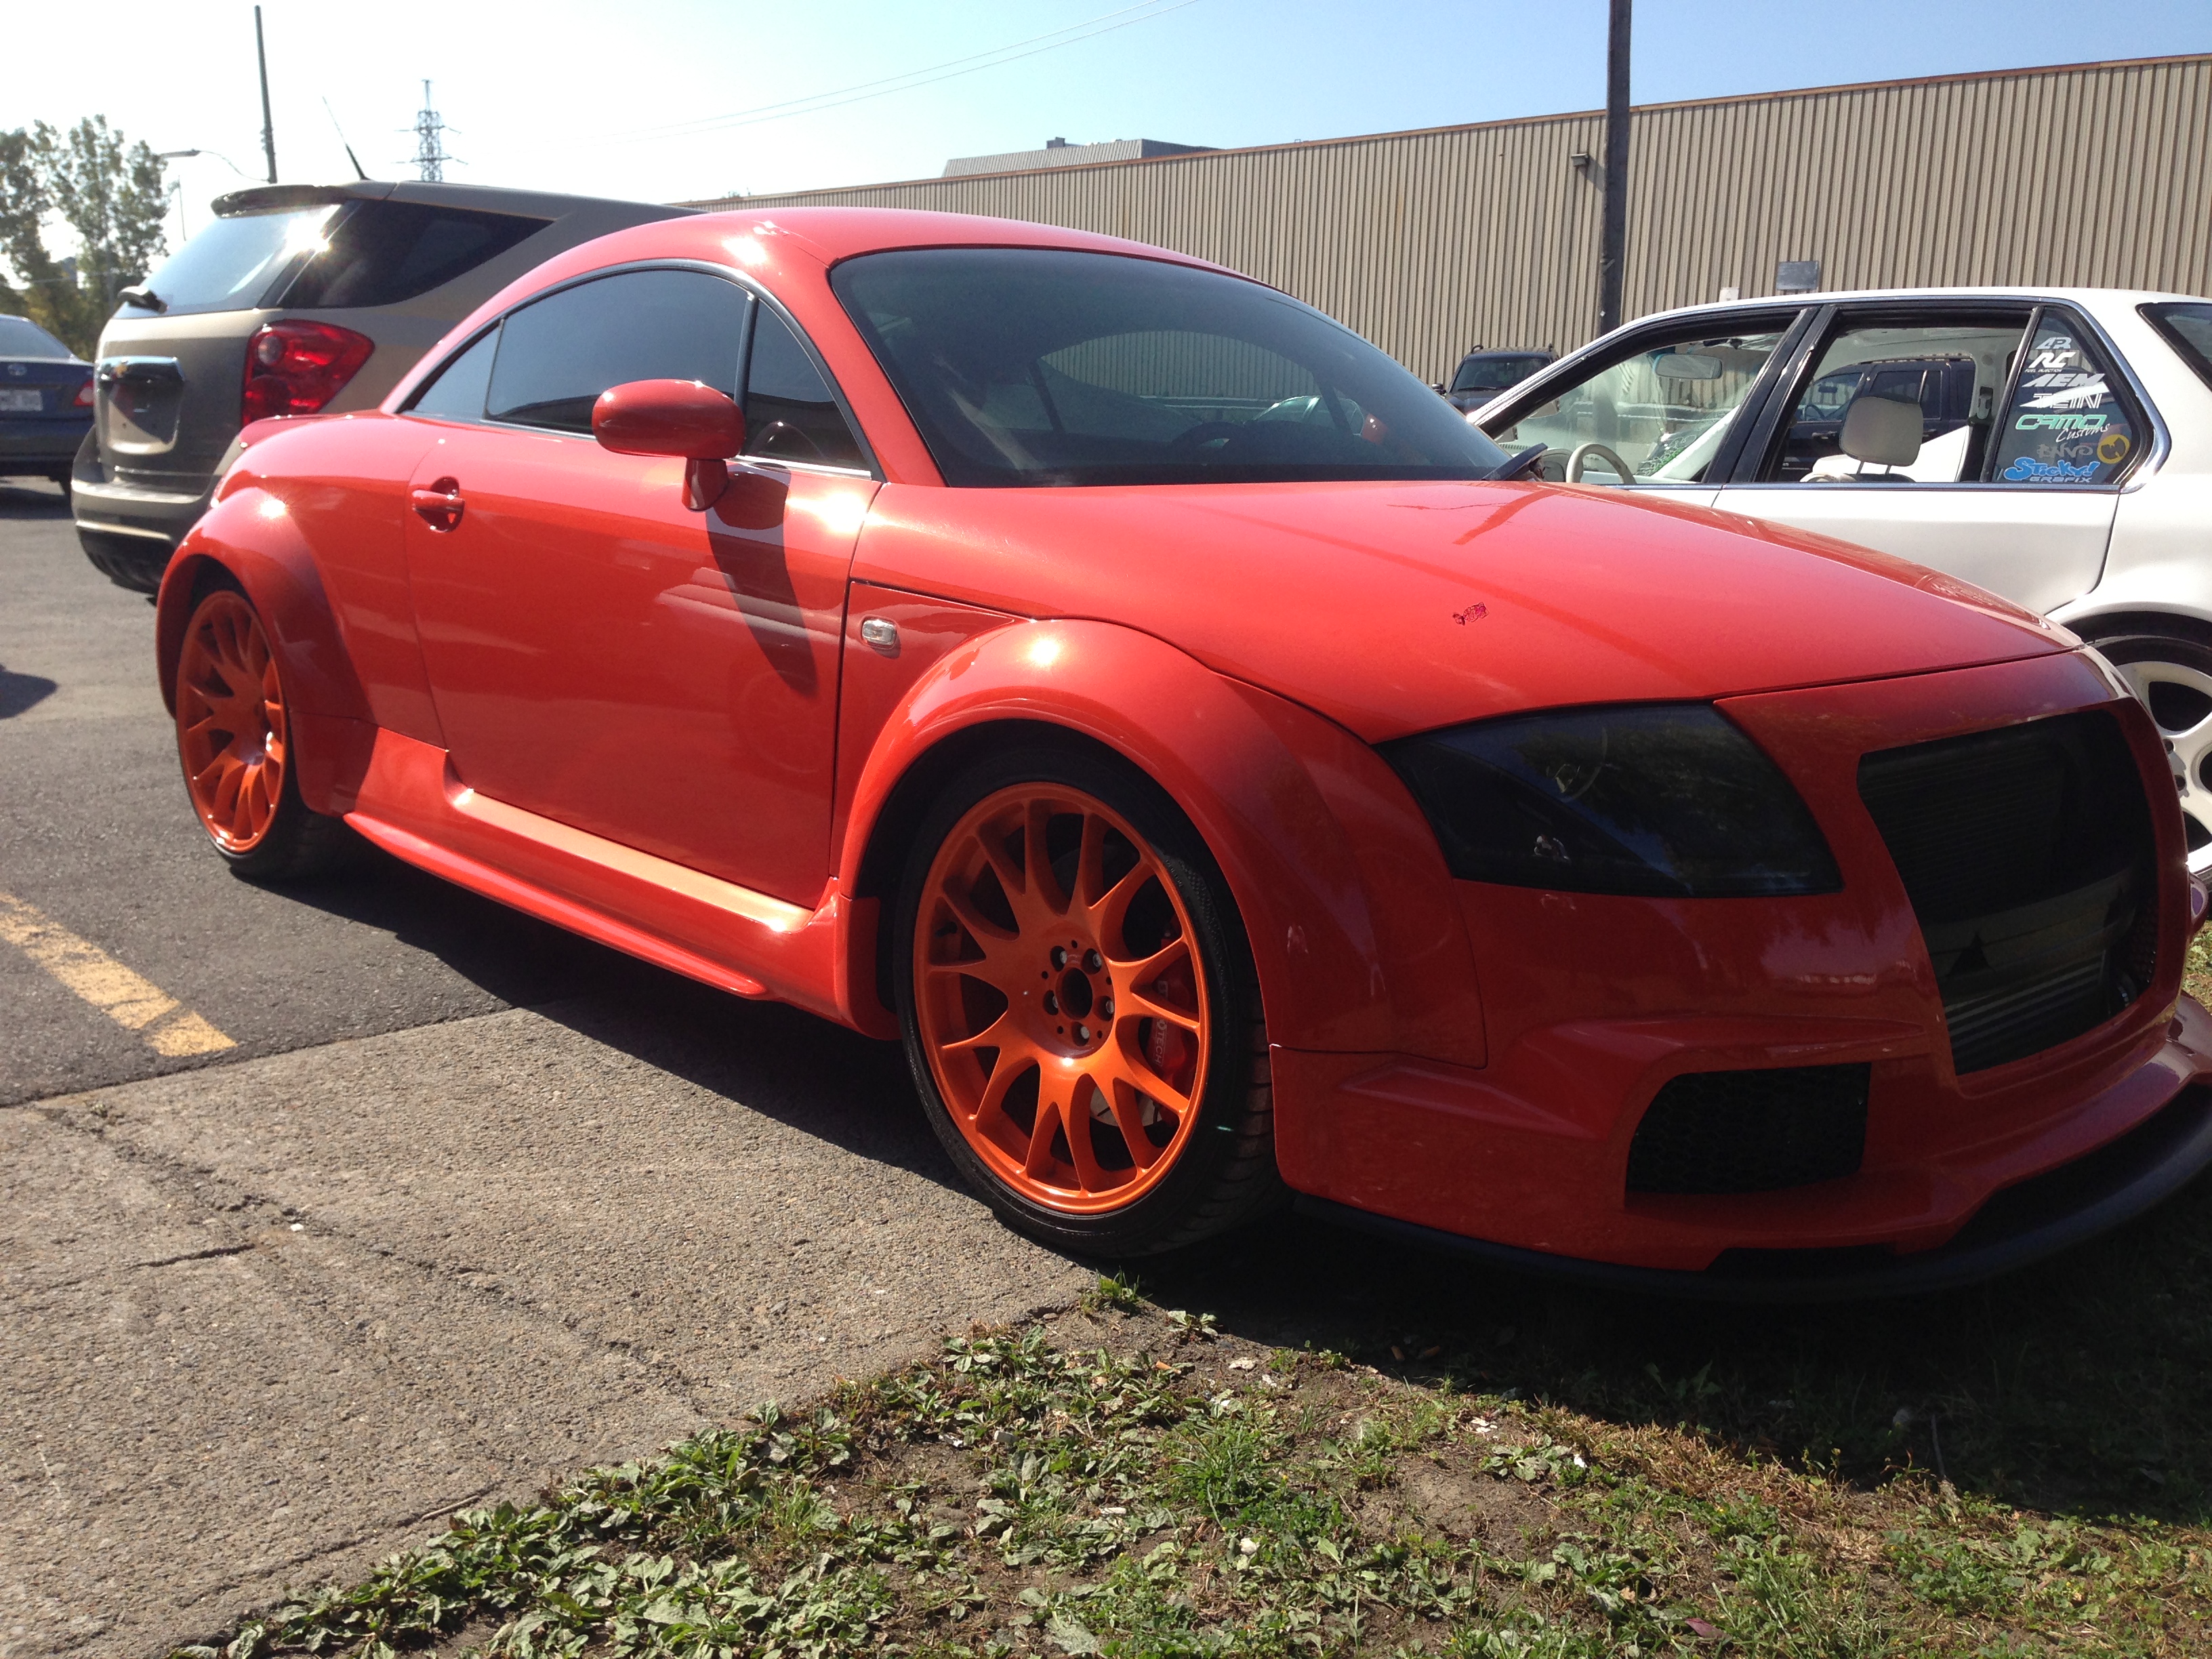
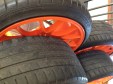
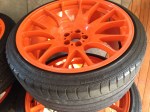
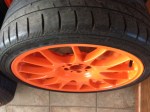
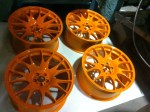
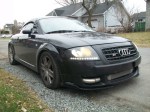
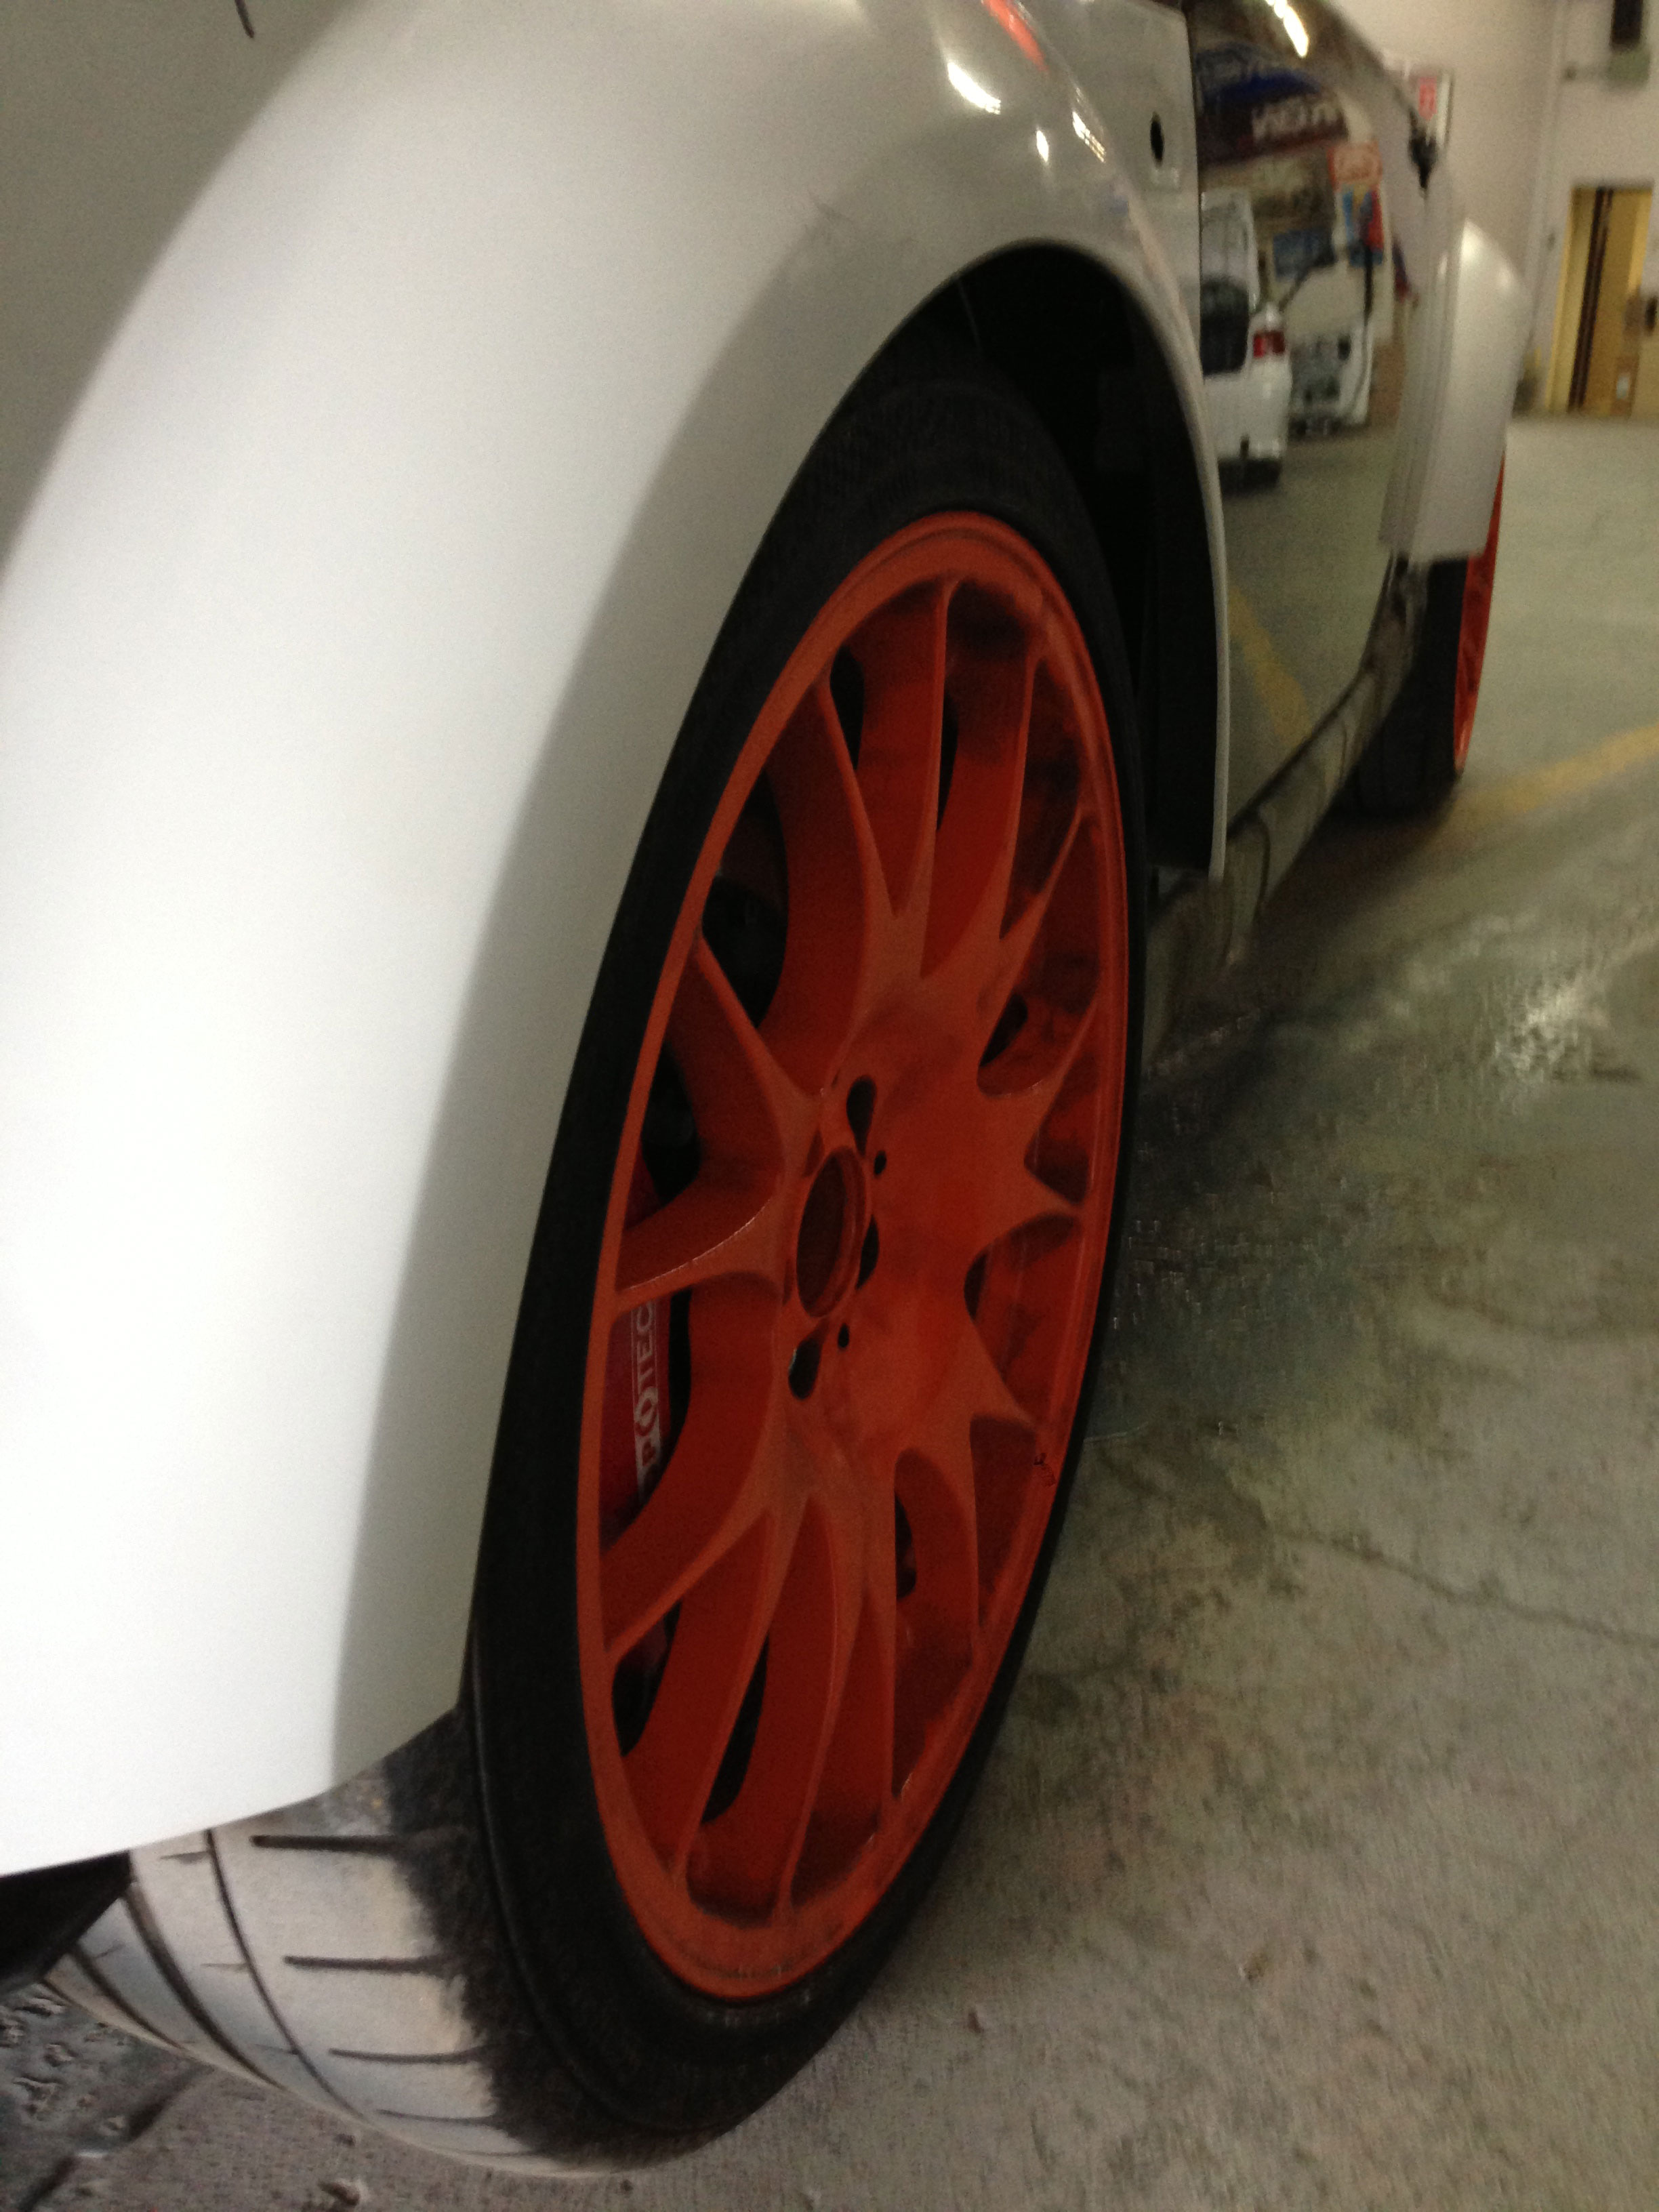
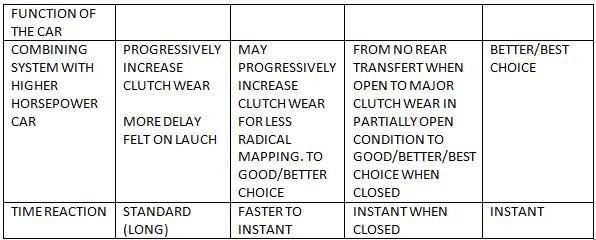
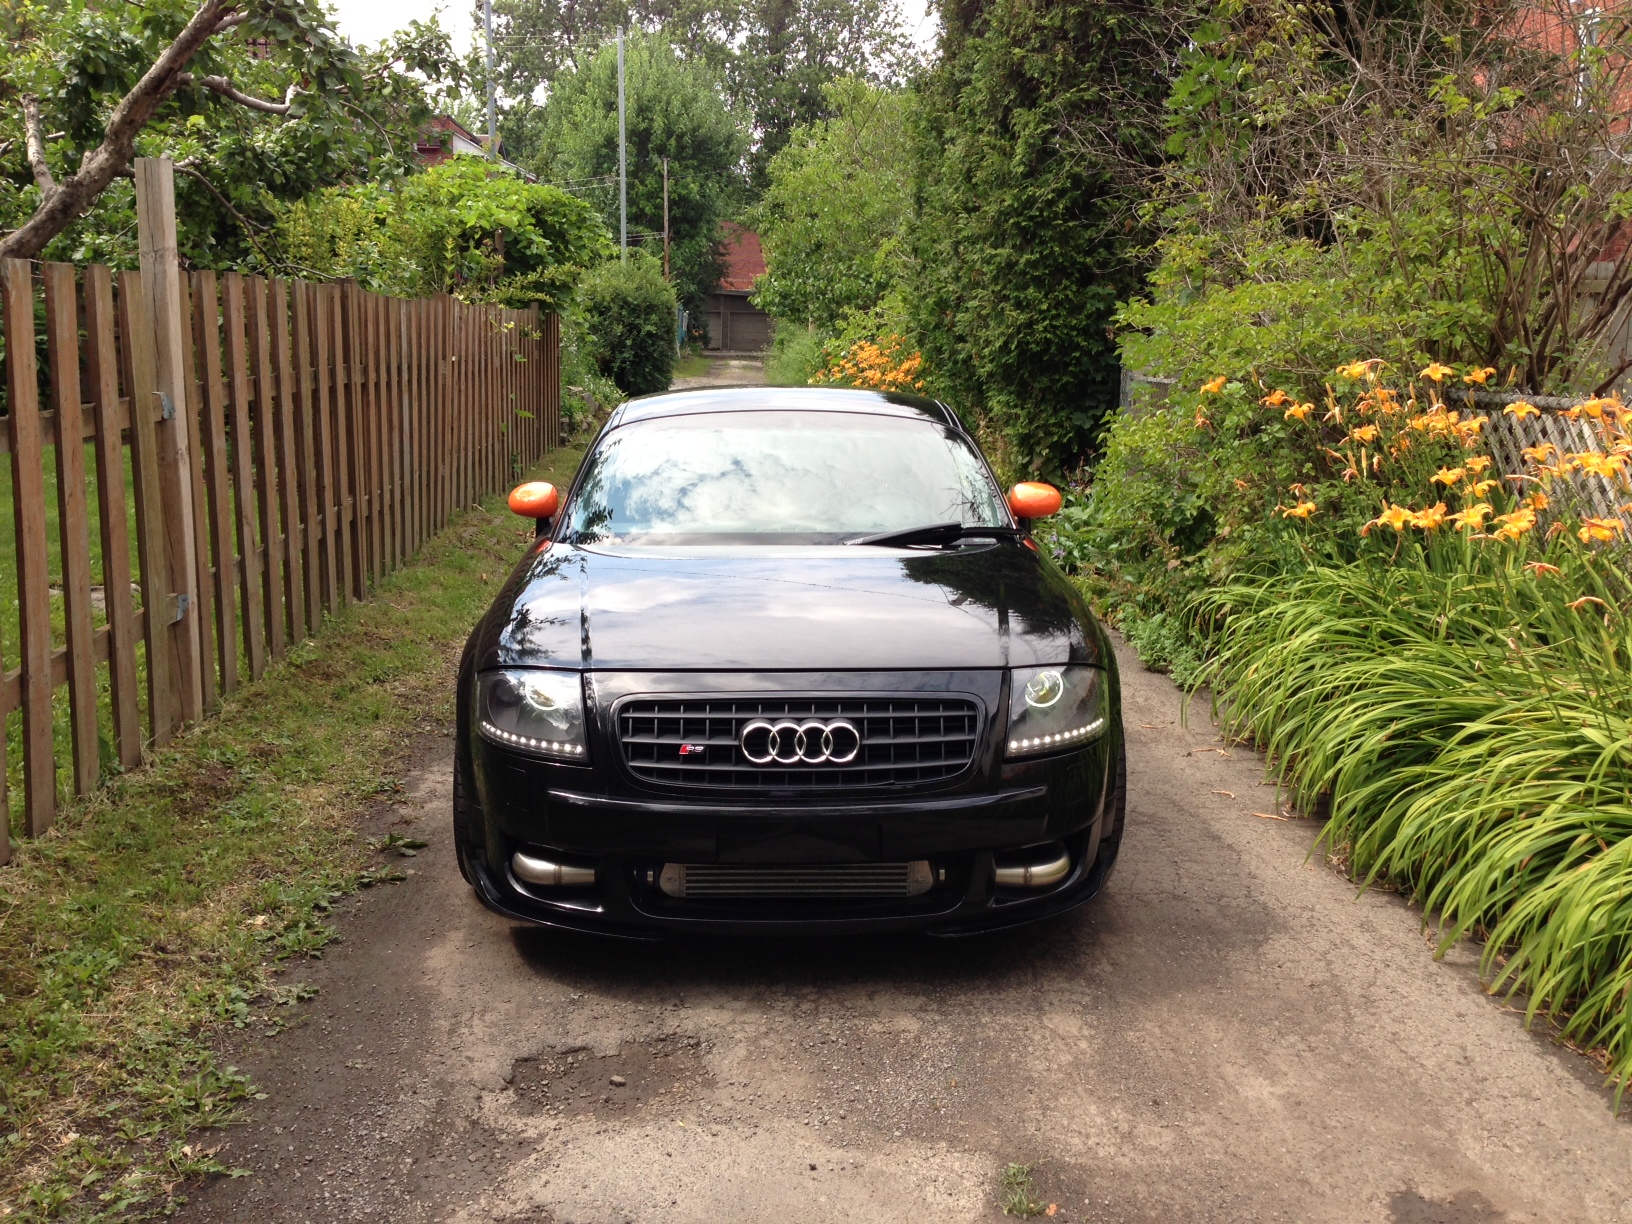
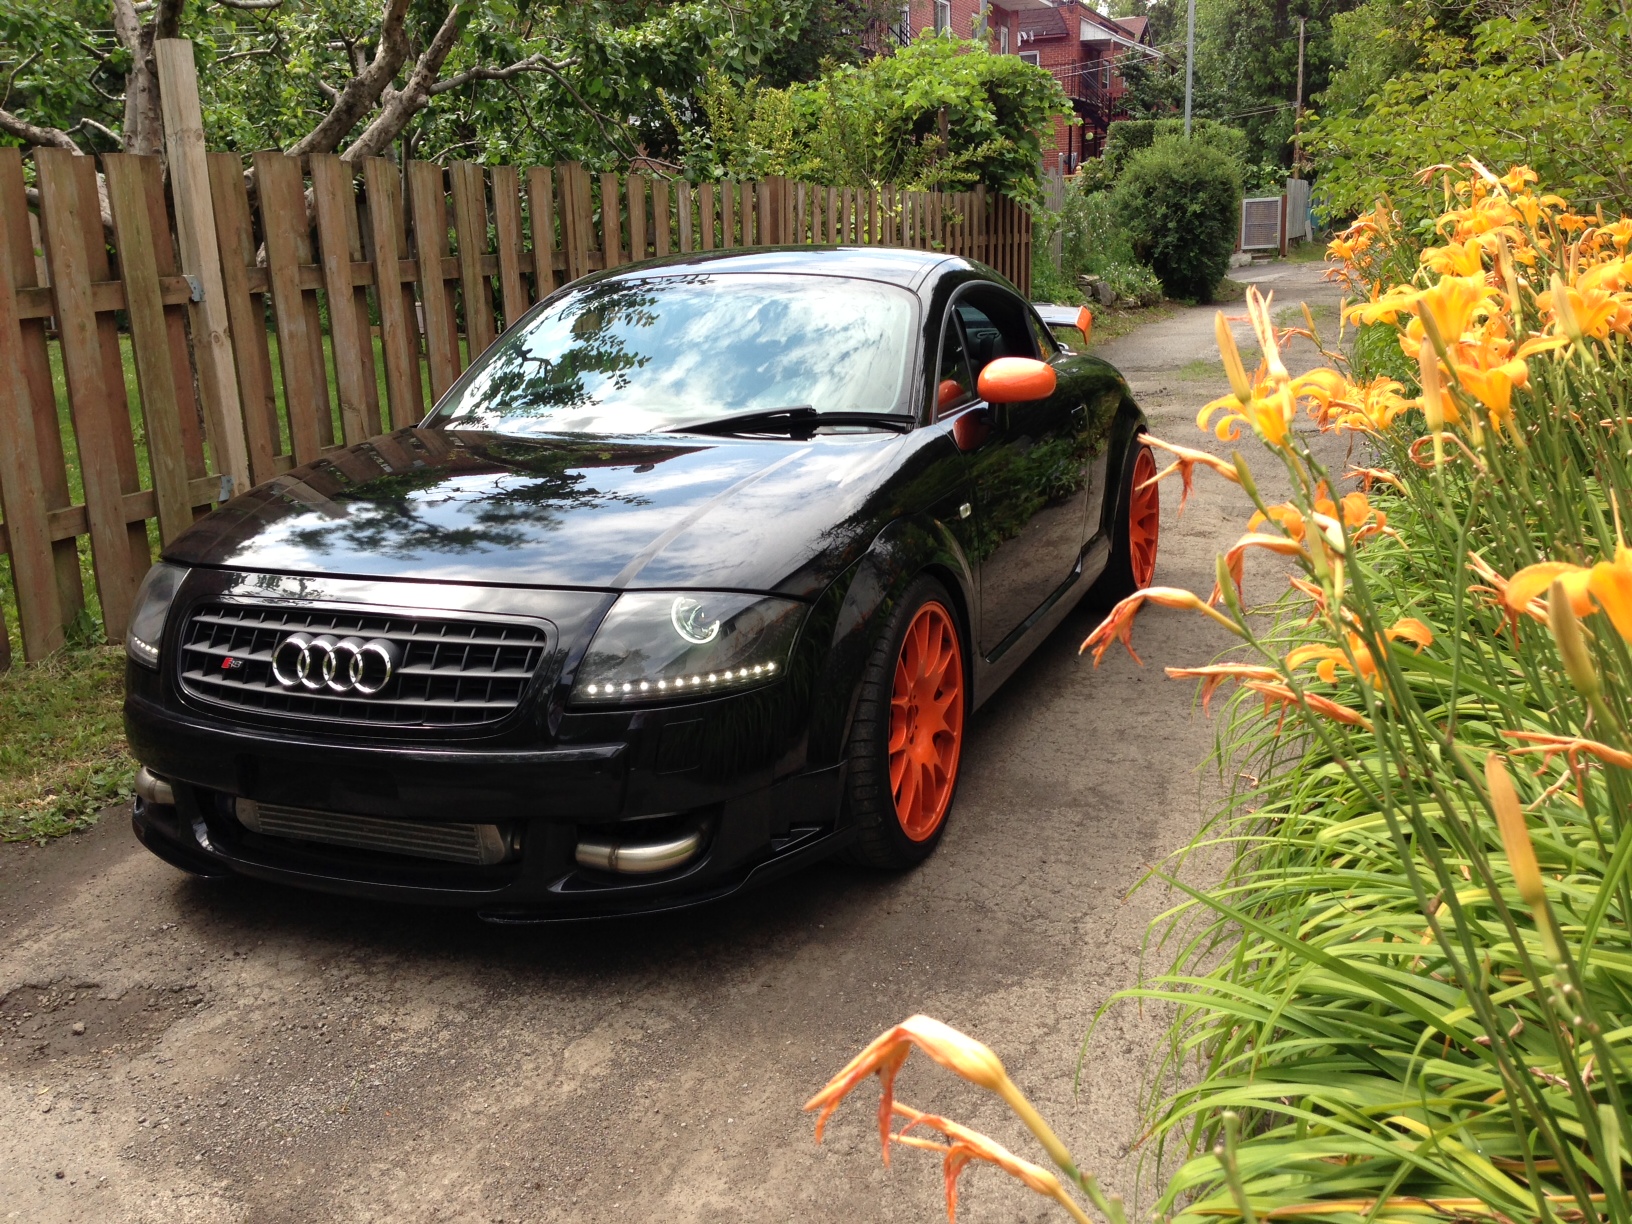
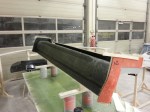
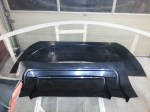
Here’s a few shots I have taken just out of the paint shop. Again, I’d like to thank Benoit at Camo Customs for his great work. Thanks Ben!
PS You’ll notice that the color varies a lot depending on the light. It’s a real blood-orange, some shady angles might show reddish reflections while deep in the sun, the car is full bright orange. (The “old” wheels were orange like a traffic cone, it demonstrates the difference between normal orange and Porsche’s P018 Blood-Orange color)
I seriously need to make space in my garage & basement! And for that, I need your help! 🙂
Here’s what I have to get rid of… Interested in something? Just make me an offer, this is a garage sale! 🙂
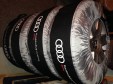
SOLD ★ Gislaved – Nord*Frost Winter Tires on 17 inc OEM Audi TT Mag Wheels
225-45 /17 (almost new!)
SOLD ★ 19, 5x100mm FK Automotive staggered BBS replicas, 8.5 in wide up front, +35 offset. The rear wheels are 10 inch wide, +20 offset. Mounted on them are 255/35/19 Continental Sport Contact 3 summer tires (they have 2-3 months left on them)
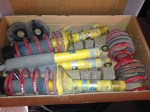
★ Bilstein Suspension, Frent and Rear, including shocks and coils. Lowers the TT by at least one inch on all 4 wheels. See the result below.
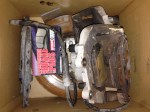
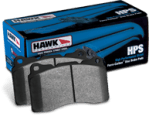
★ Audi TT 3.2L V6 OEM Front and Rear brakes. Calipers, pads, back plates, oil lines. The kit includes front and rear Hawk blue performance brake pads.
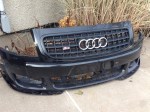
SOLD ★ Audi TT 3.2L V6 front bumper. Includes DMC Front Spoilers. (left & right lips)
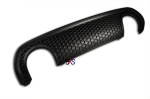
SOLD ★ Audi TT 3.2L V6 rear bumper. Includes DMC Rear diffuser.
SOLD ★ Audi TT Rear DMC Wing fits 3.2L only
SOLD ★ Audi TT Front DMC Spoiler & Splitters (3 pieces, unpainted)
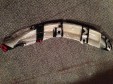
★ Audi TT Eye lids by Seker Tuning. Not painted. Article No. SWB-800760
SOLD ★ Audi TT 3.2L V6 rear OEM valance (2 exhaust pipe holes)
While the TT gets painted, I have been looking for wheels that would best fit the new color and body kit. The MK1 TT has a 5x100mm bolt pattern, so it’s not too hard to find nice wheels in that fit… so I thought!
BBS? Nah, too much of an obvious choice. Plus they don’t make any wheels that fit my new size requirements… Not that I checked… 🙂 The size I was looking for is 5×100, 19×10 front and 19×11 rear, with a 50mm offset. In fact, I looked at ALL the manufacturers and did not find ANY with those specs. I rapidly had to admit the only wheels that would fit would have to be custom made!
My friends at VAG Motorsport suggested 4 manufacturers, less known Brada Wheels and Loma Wheels and 2, more expensive and more common; HRE Wheels and Rotiform. I obviously looked first at the less known brands, question of being different, out of the mainstream of the wheels we always see out there. I still gave some thought to HRE and Rotiform but when I saw the VELO 3-piece model from Loma, that was it! No questions asked! The wheels have an Audi OEM but revisited look and not only would they fit perfectly, they’d keep the overall look of the TT close to the manufacturer’s drawing board. And SOLD they were.
The final color scheme is matte black (polished wheel interior and matte wheel spokes) with an insane offset and a really deep concave look. It will take abt 2 weeks to have them built & shipped from Spain. Can’t wait to get them!
LOMA® Wheels provides a deep concave profile up to 5″ for some applications, depending on the vehicles offset limitations. Same US- made forged aluminum parts used on all LOMA® 3- Piece wheels. Available for all makes and models in sizes from 18.0 – 22.0 inch and diameters with widths ranging from 7.5 – 13.0 inches. Through bolt or blind bolt options.
Profiles:
Flat / Mid / Deep Concave / All variations
Diameters:
17.0 – 22.0 inch
Widths:
4.0 – 14.5+ inch / in 0.5” increments
Construction:
3 piece forged
Superlight:
Extreme weight reduction possible with straight center and step lip
Inner/Outer:
Step lip (standard reverse / rolled)
Avg weight:
18.0-25.0 lbs. / Sub 18.0 lb. possible (depending on wheels size)
Applications:
All vehicles / pcd’s / offset combinations + centerlock applications
Assembly bolts:
Optional hidden or visible hardware / standard or titanium upgrade
Backpad:
Standard weight reduction pocketing
Intended use:
High performance street & / Track use
LOMA® VELO Wheel with silver center and silver barrel.
LOMA® VELO Wheel with silver center and silver barrel.
LOMA® VELO Wheel with matte black center and gloss black barrel.
LOMA® VELO Wheel with matte black center and gloss black barrel.
LOMA® VELO Wheel with matte black center and gloss black barrel.
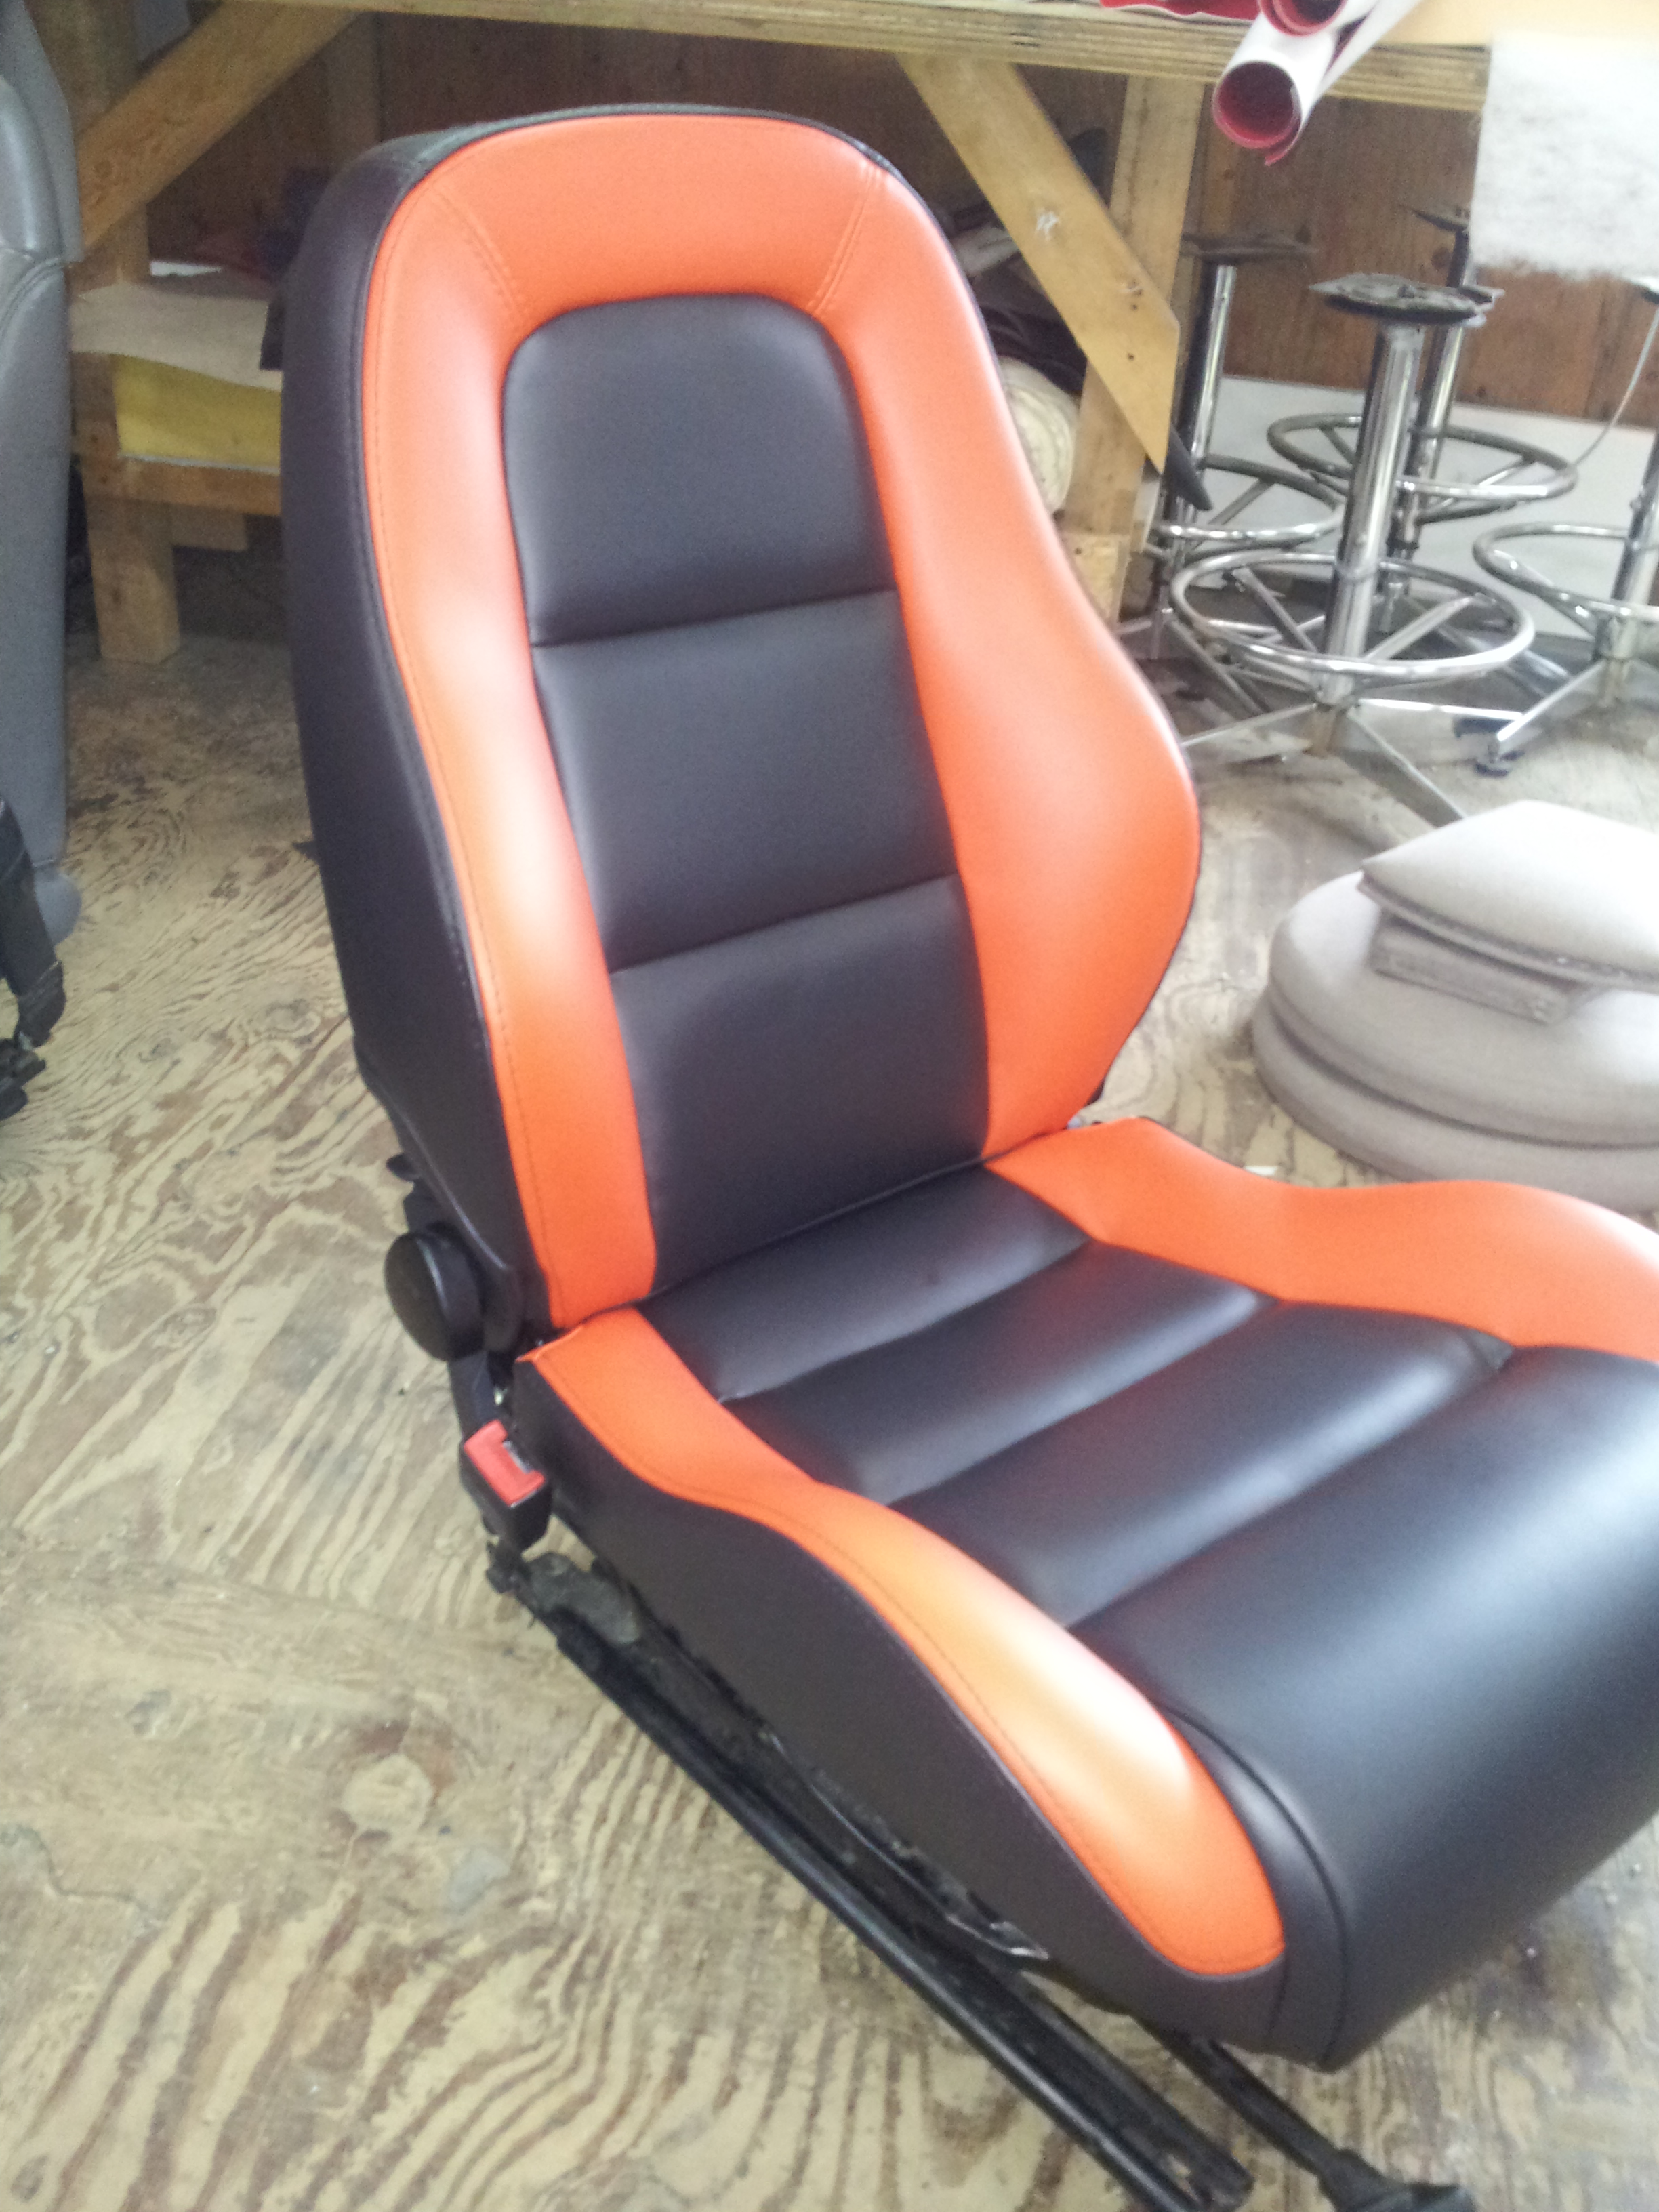
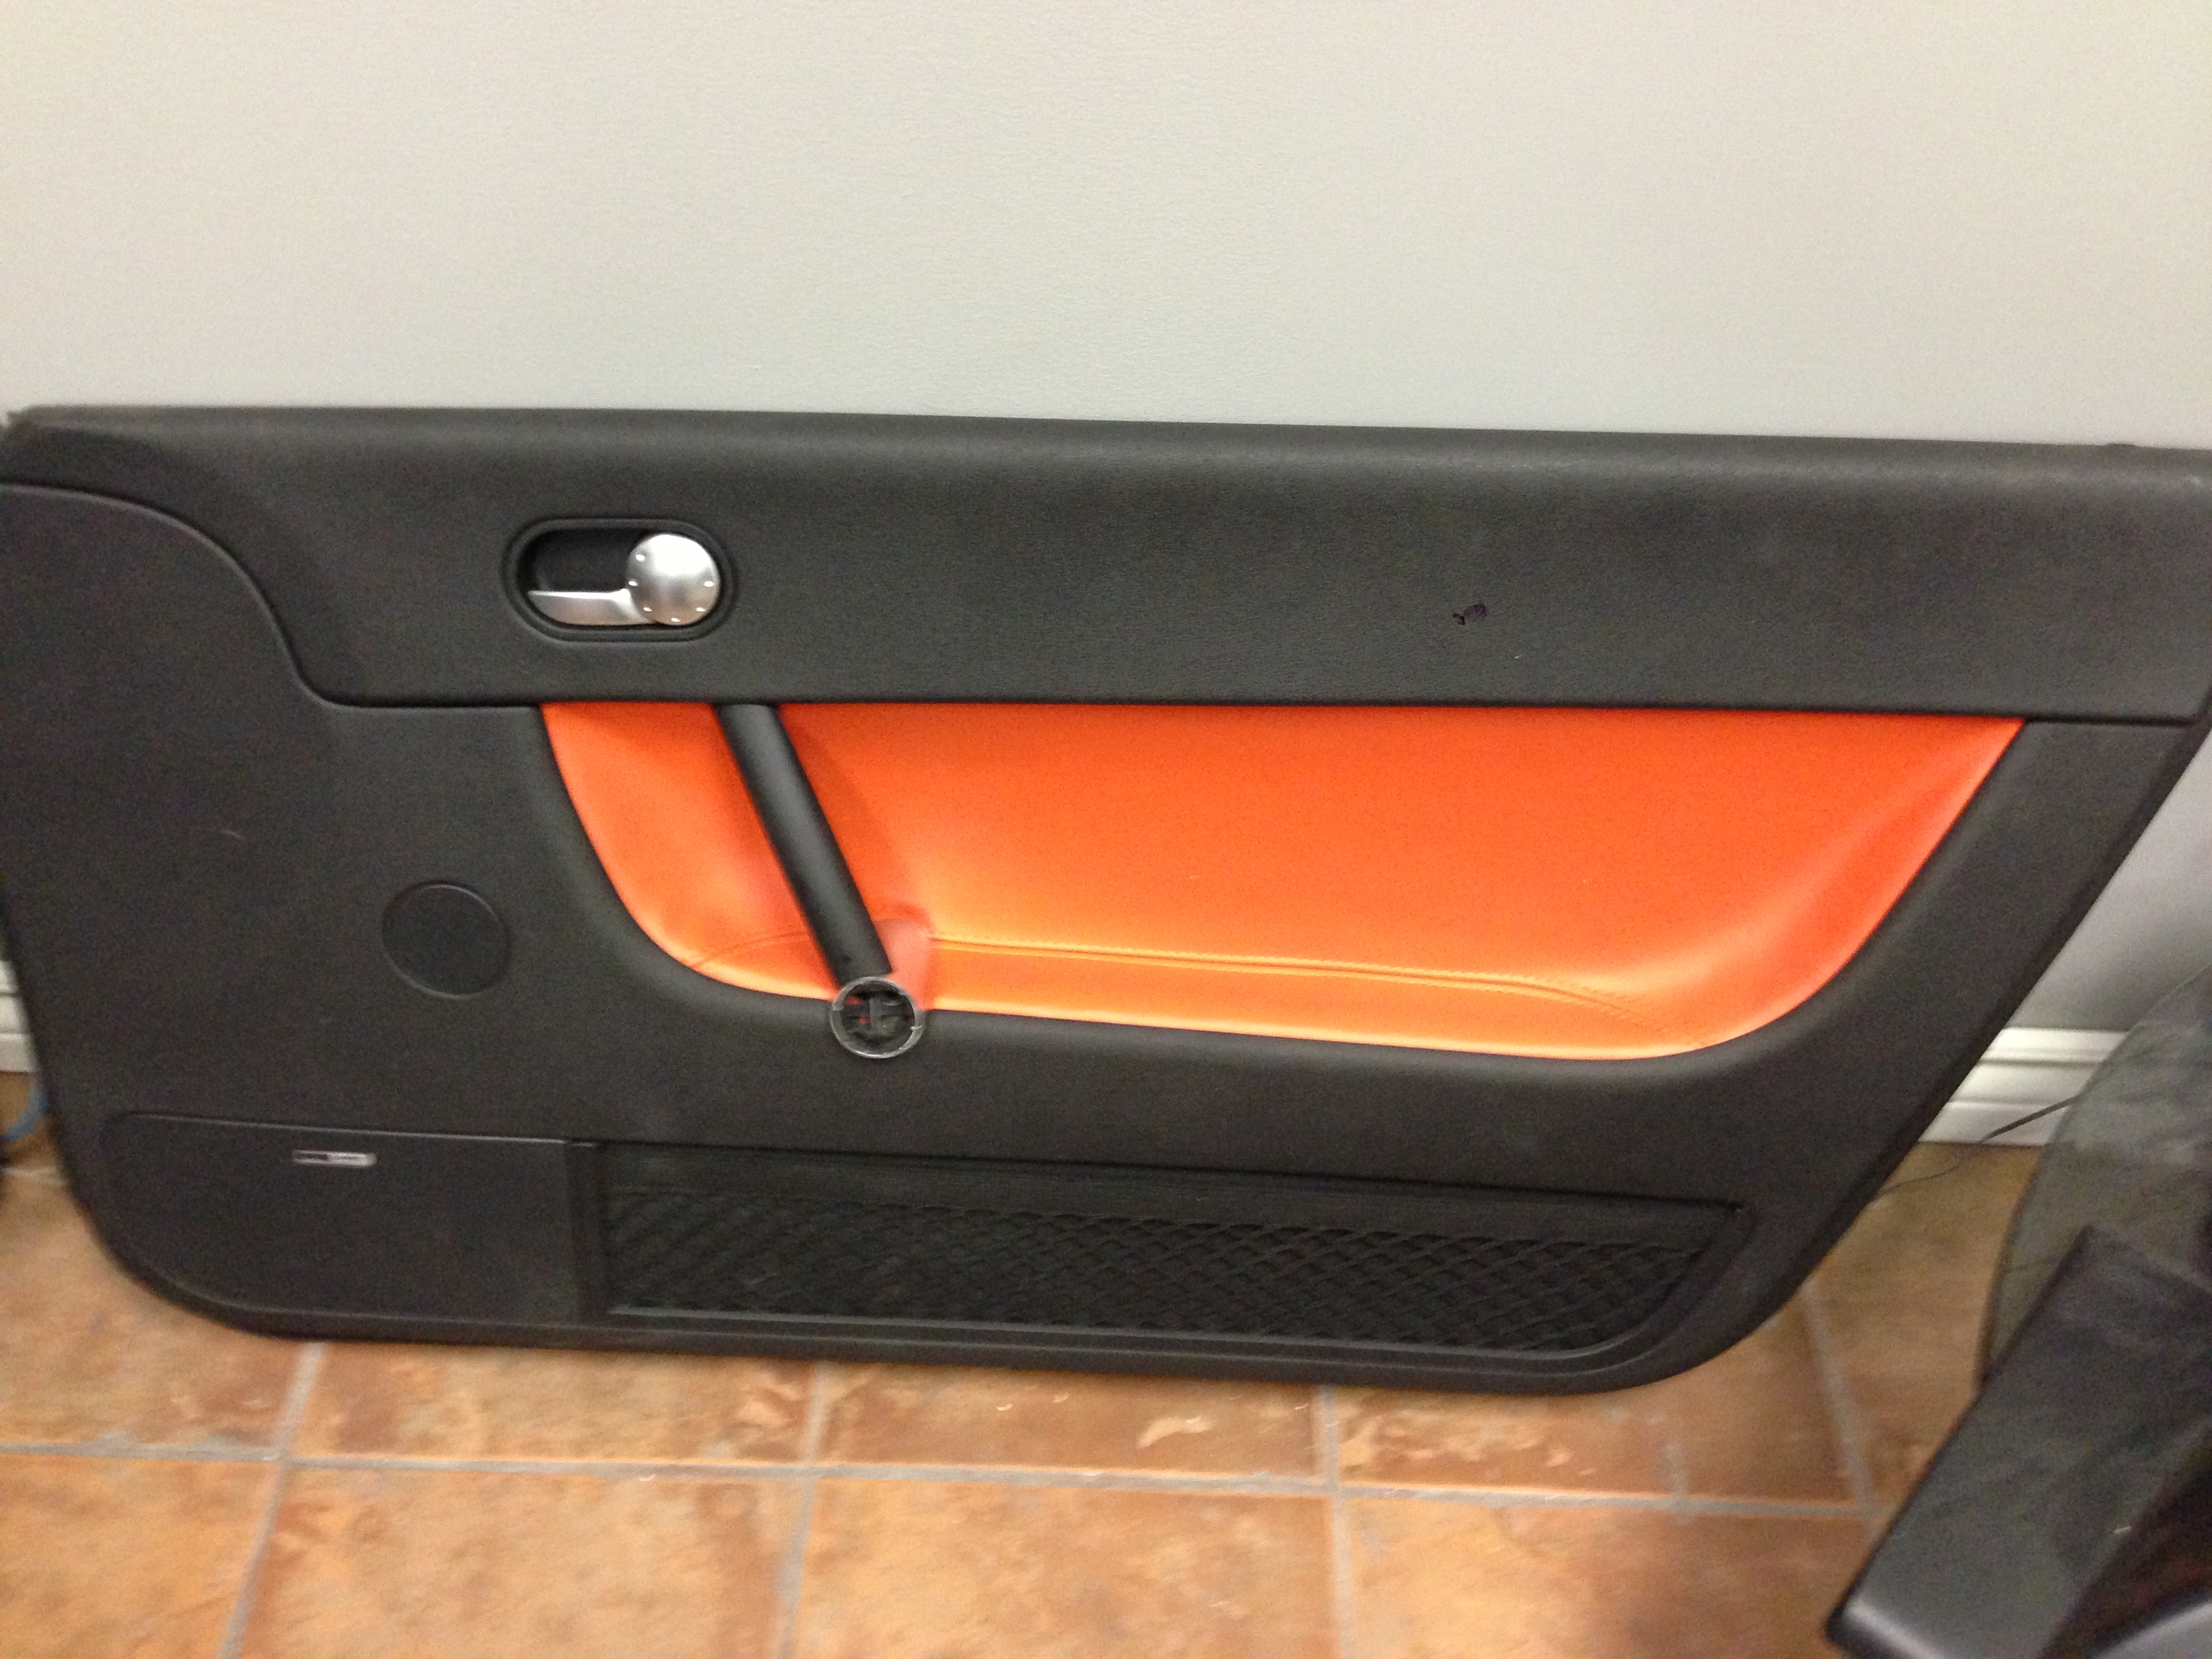
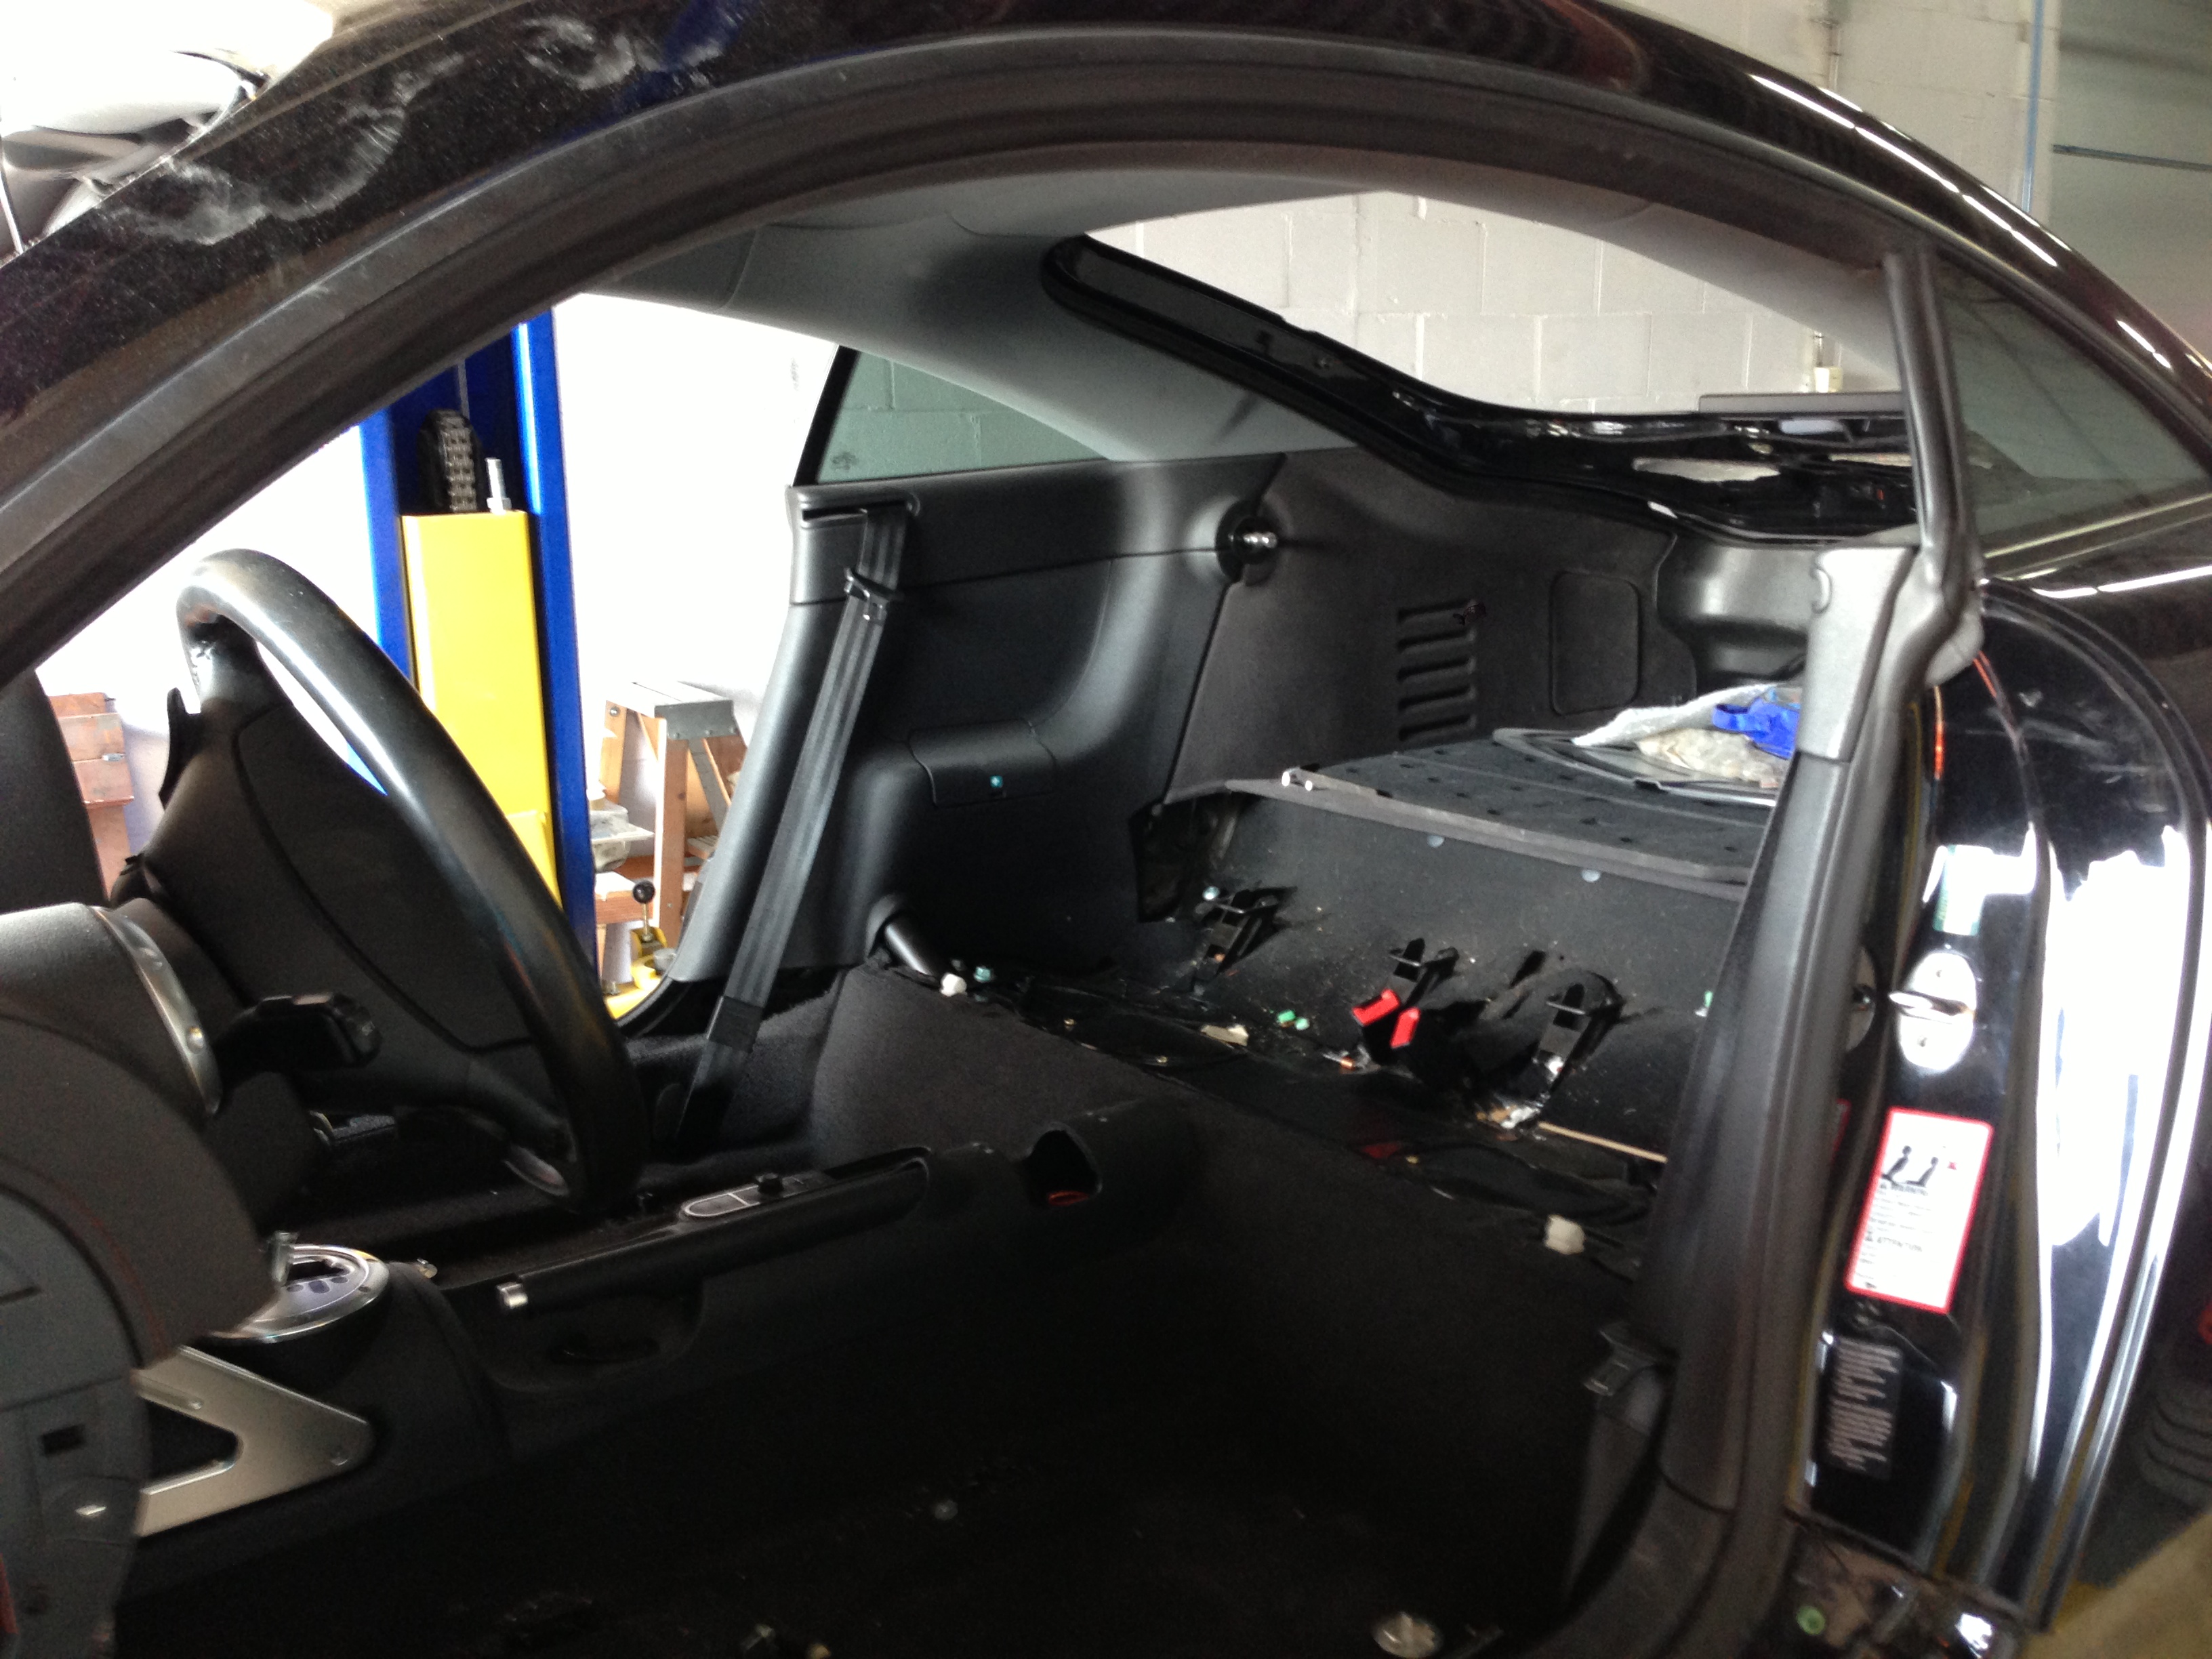
Here’s an idea! Why not customize the interior to fit with the new paint job?
That would be awesome wouldn’t it? Say subtle and… less subtle changes 🙂
First thing first, the seats! After giving the idea some thought, I chose not to change them for aftermarket seats. I prefer real TT seats, because it’s more in line with the car’s original design and has a somewhat OEM feel. (even if they are re-skinned)
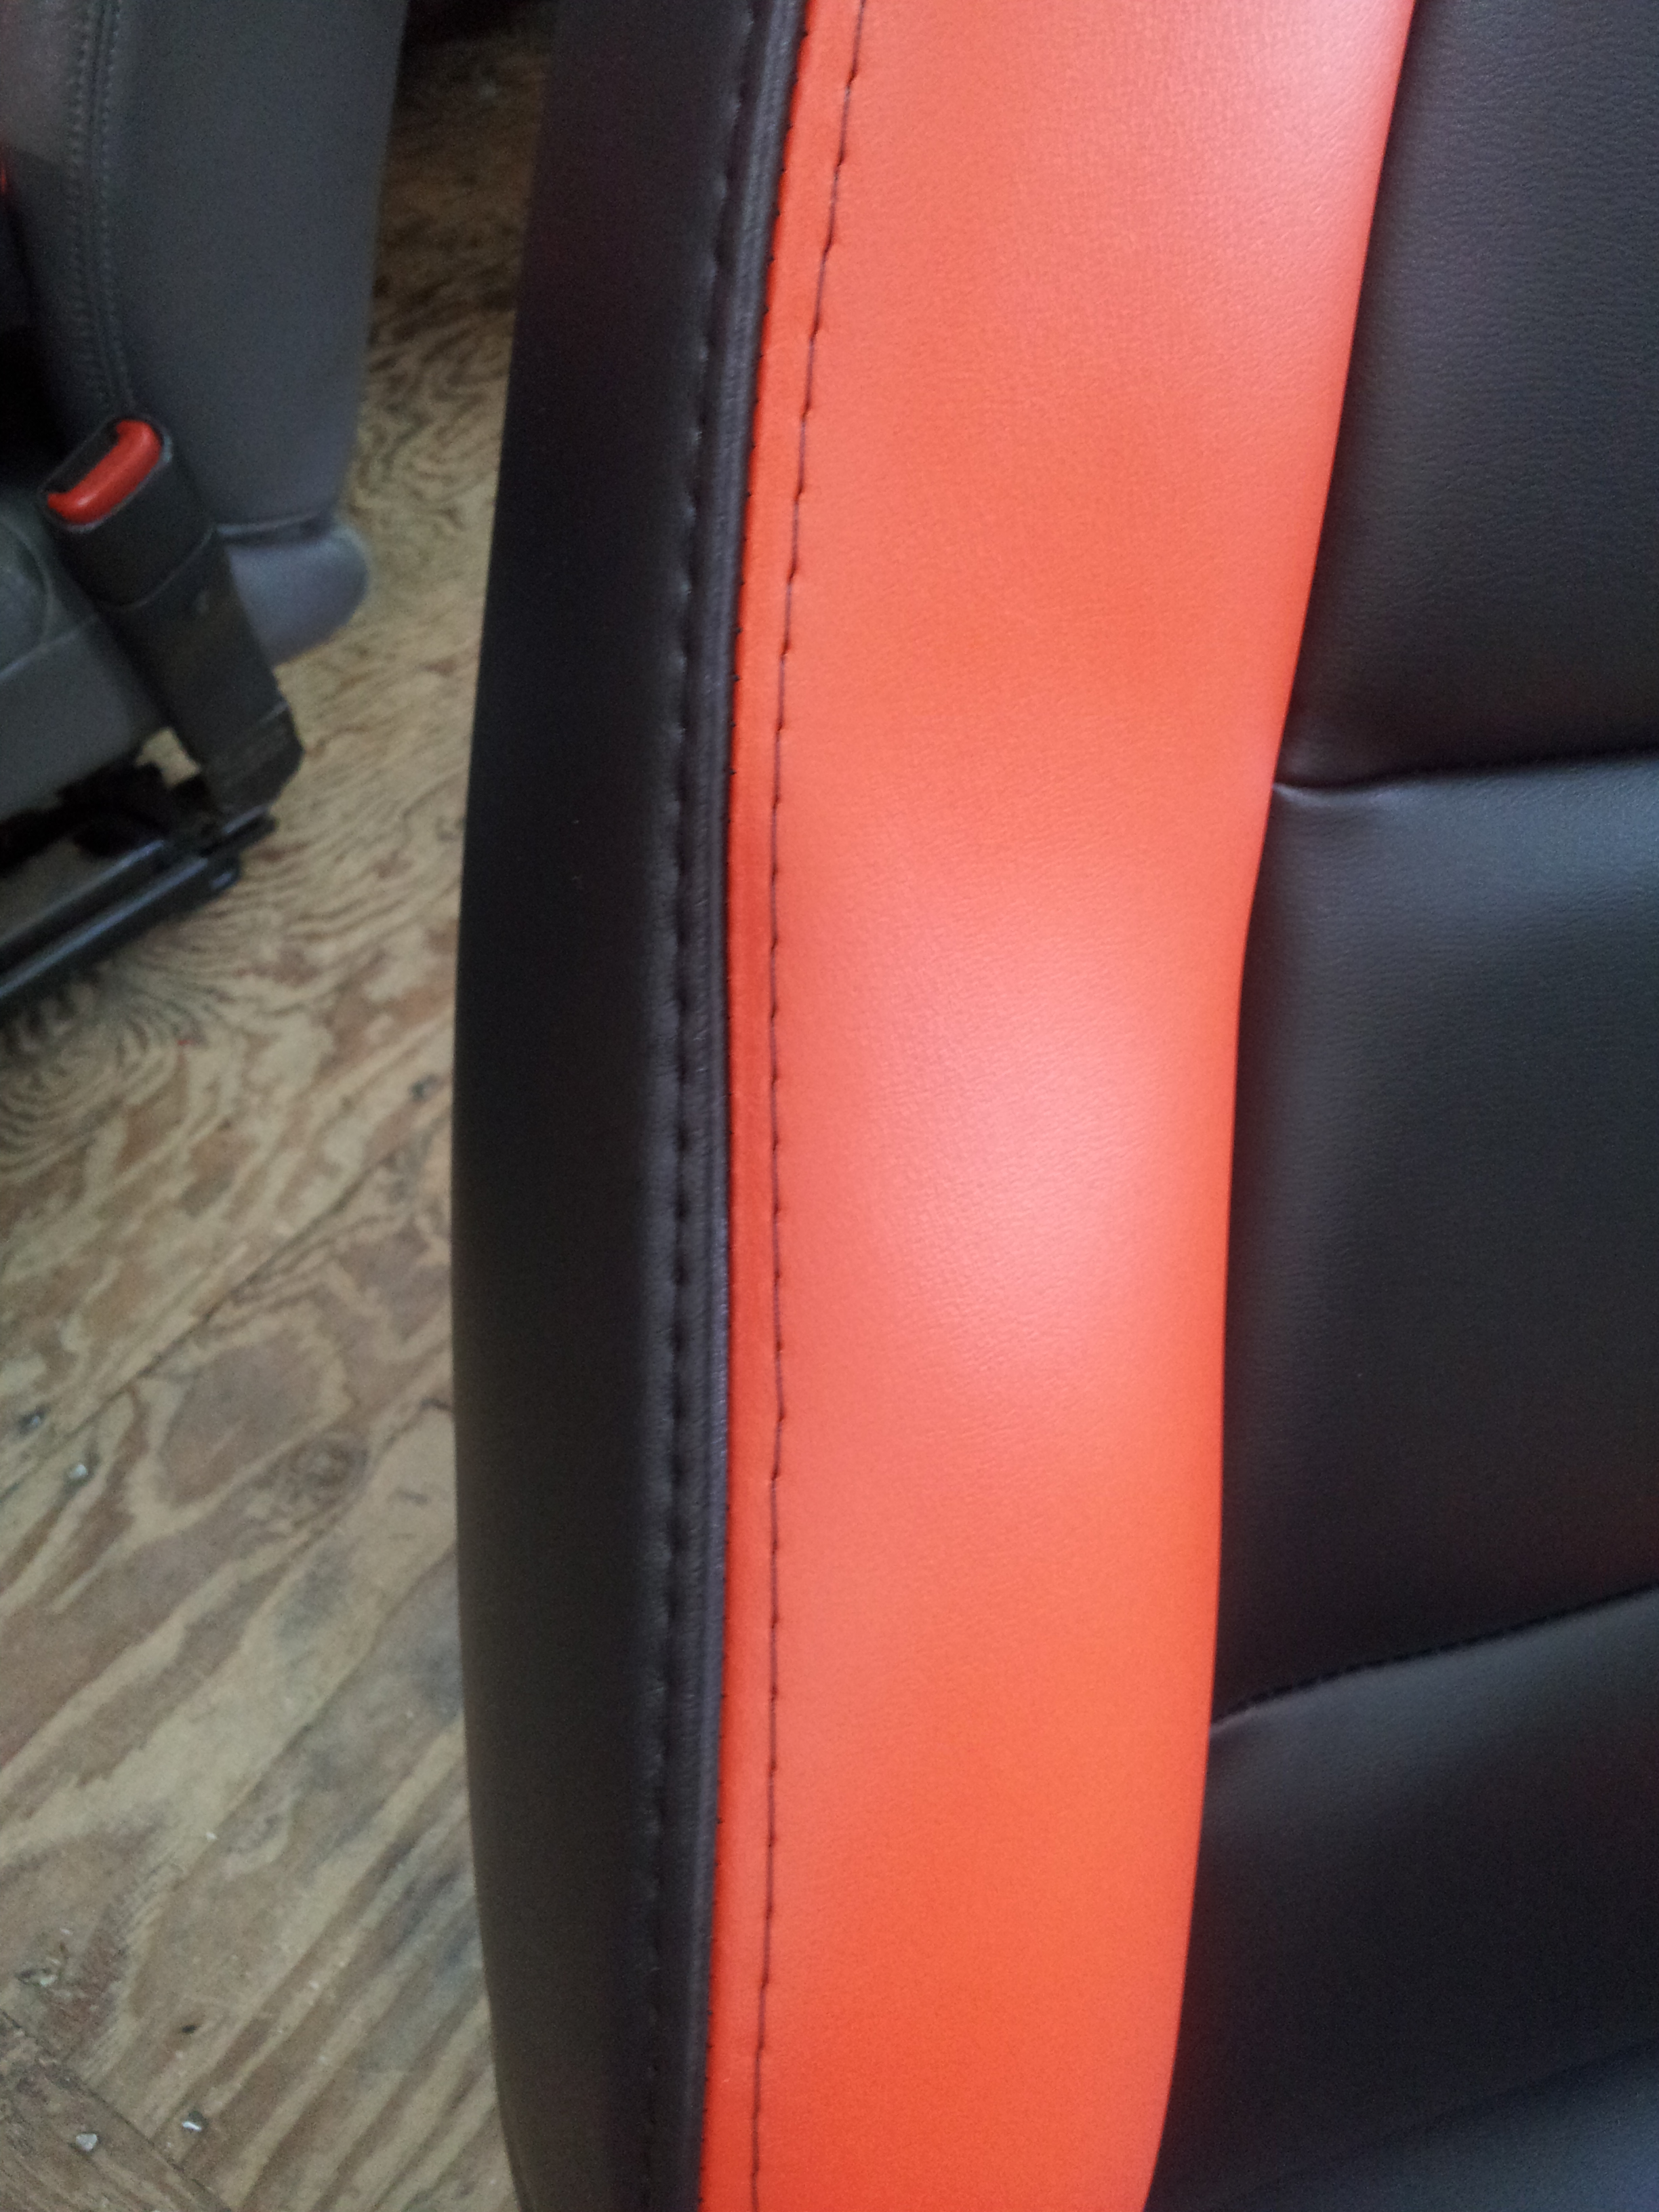
So, I have decided step one is to change the seat leather. Here’s the result.
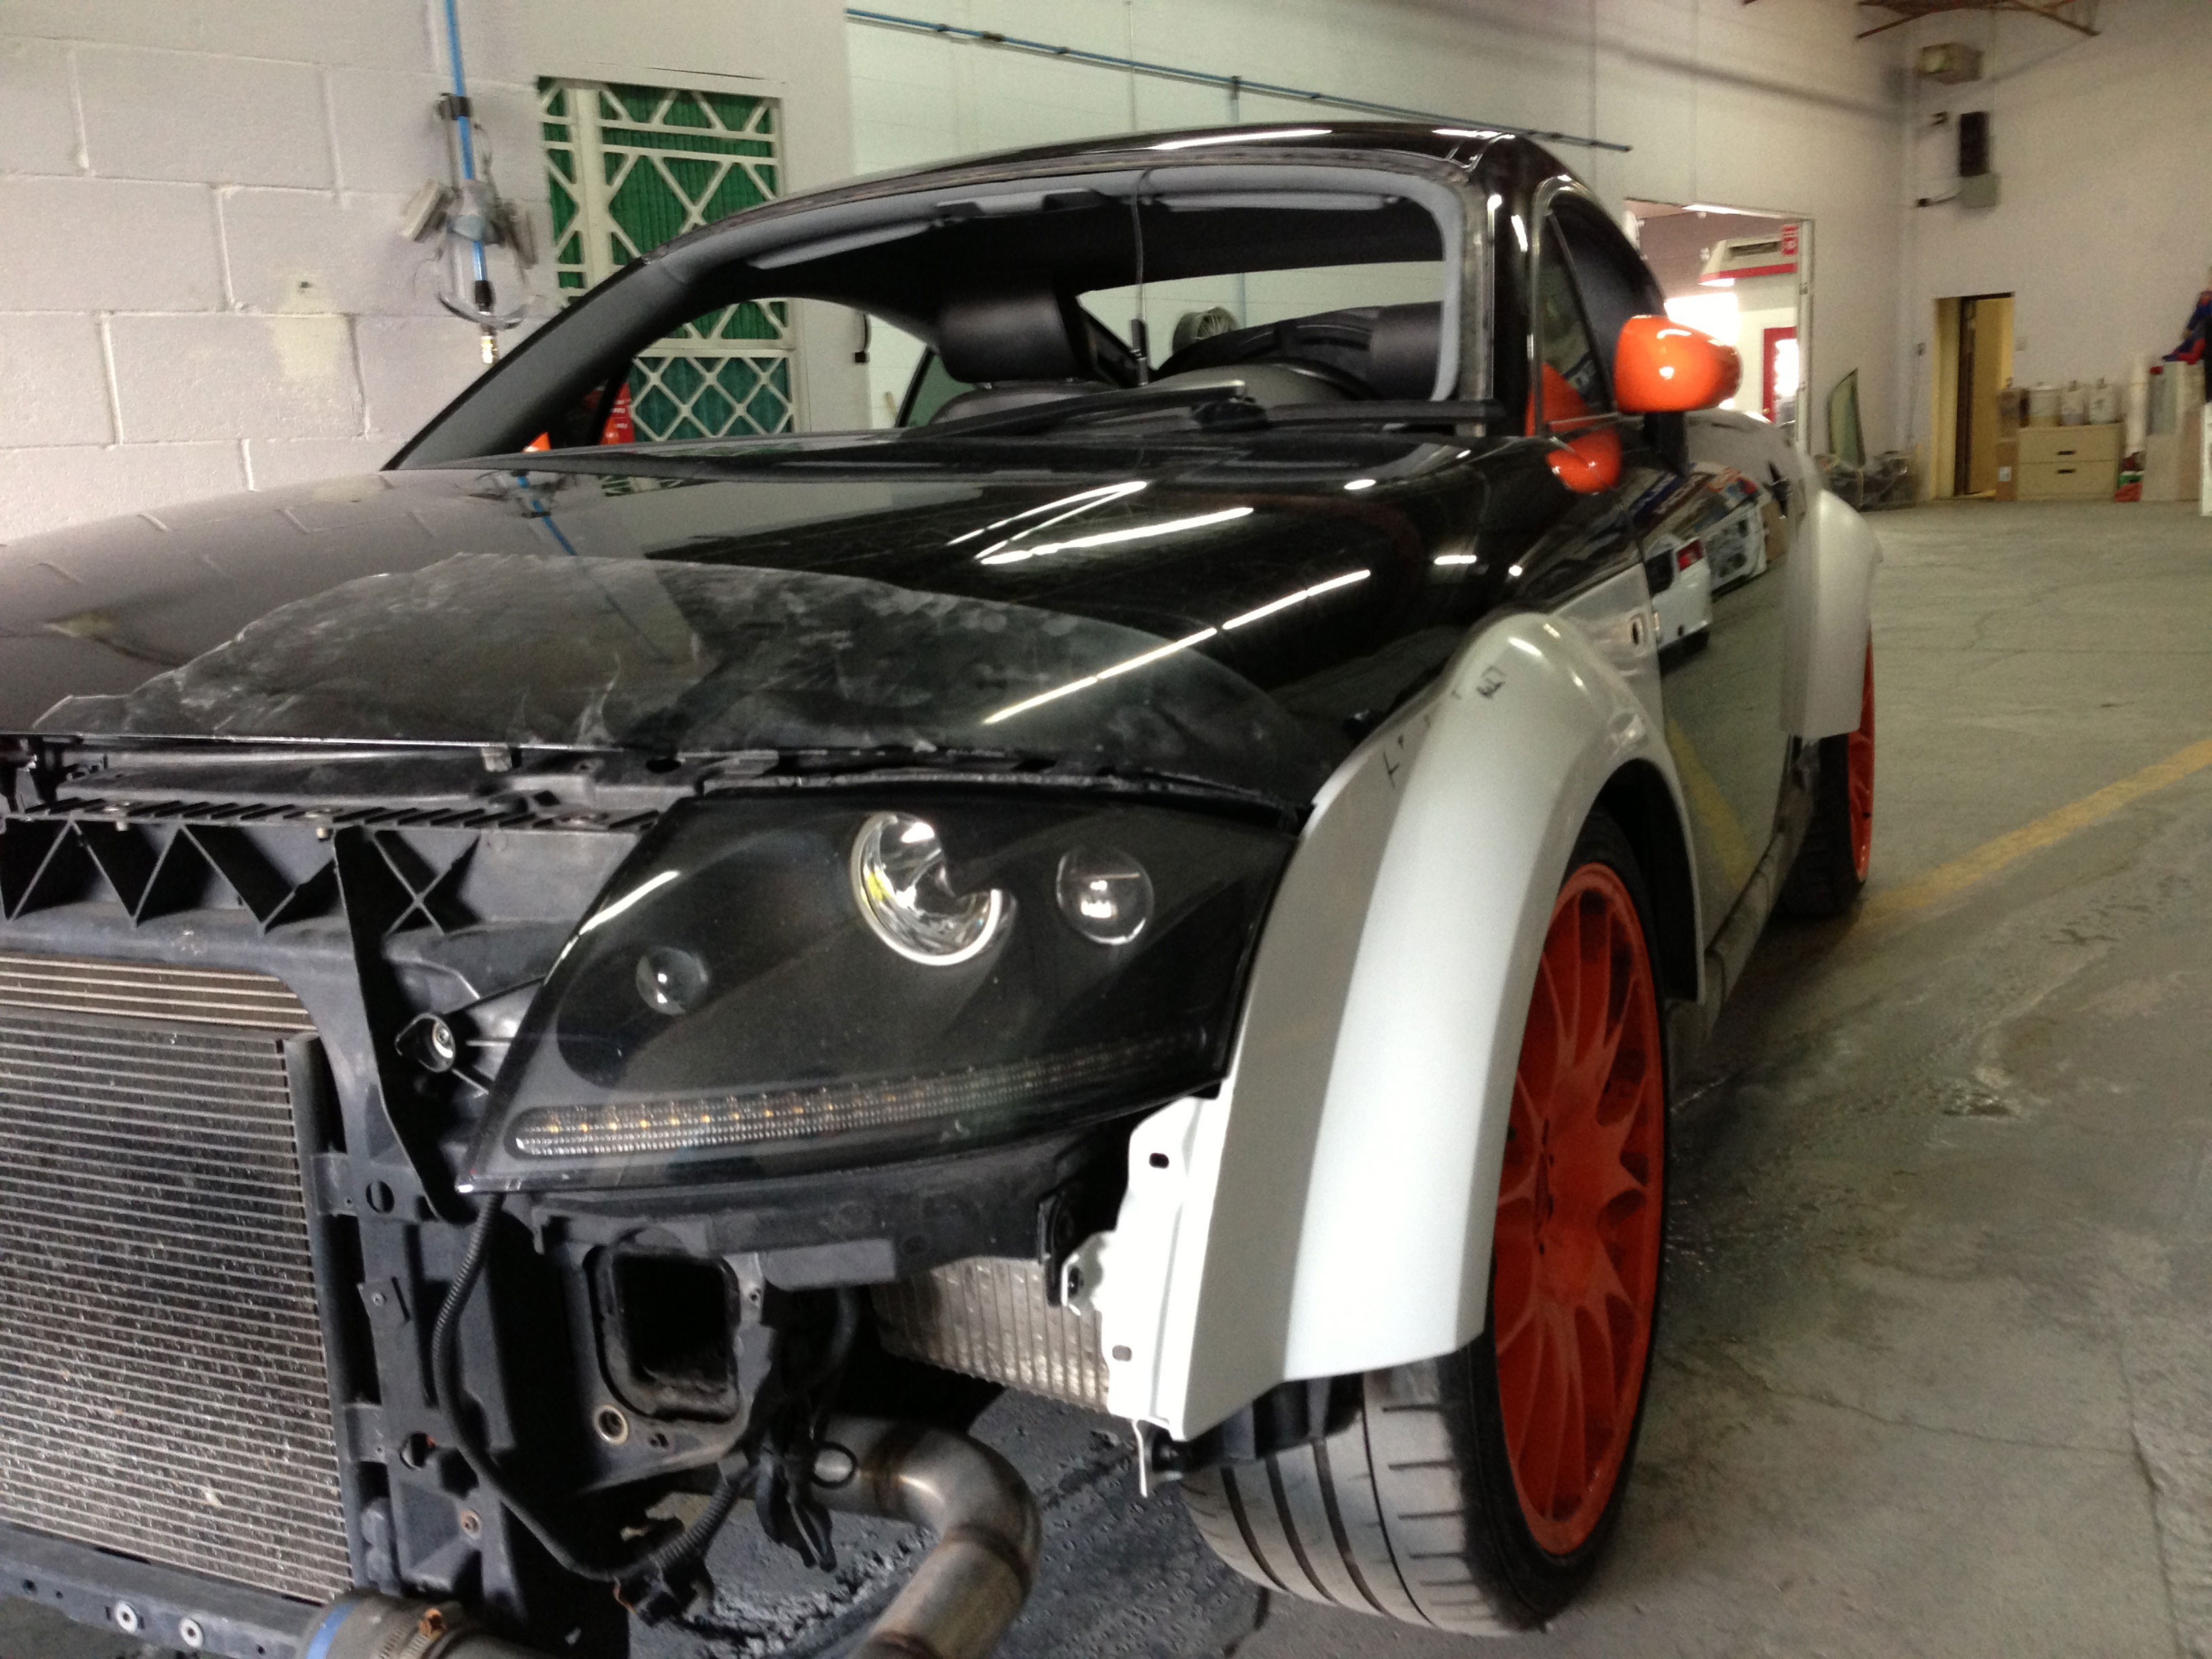
Now that the body kit is installed it’s finally time for a custom paint job!
After many months of research and changing ideas many, many times, I finally decided to go with Porsche’s P018 Blood-Orange (aka “Blut Orange” or “Tangerine”). The paint shop (Camo Customs) decided to add just a little, tiny gold flakes/pigments for that special effect in the sunlight. Depending of the angle you look at the car, it’s either very orange or plain red. Incredible!
It looks REALLY incredible! Can’t wait to see the final result!!
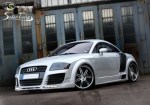
Project update: It is finally time to prepare the TT for paint! This means the DMC Wide Body Kit has been fitted and prepared for paint. See pics.
It took me a while to decide on which body shop I would use to create my project. After meeting Ben at Camo Tuning, I felt comfortable enough to bring him the TT. He had already done Paul’s (TT Authority) and new and understood what I wanted… A very, very detail oriented paint job! 🙂 So I ordered DMC’s Wide Body Kit and a Seker Tuning rear wing. (Which I preferred over DMC’s)
It took about a month to gather all the pieces together and while I was at it, ordered a Lambo Door kit! I always wanted to install one on the TT, although some will say it will turn a fine European TT into a rice mobile… I get it but my thoughts are: 1- I like it 2- the kit I bought (LSD) also allows regular door opening. So no gull wing at the gas pump… 🙂
I recently heard of the Powertrack Insert, a little mod that can do a lot… With the Powertrack Insert, any Haldex system can give 50-50 front-rear traction… at a very little cost!
So why bather with the expensive (Blue – Orange – Silver) Haldex controllers when you can get similar results for a fraction of the price? I personally bought the HPA Haldex controller several months ago. But then, I didn’t know about the Powertrack Insert.
So I asked YHW (Your Haldex Works) to summarize the difference between all the Haldex choices for anyone wanting to get more out of the system.
Enjoy!
Andre
(Videos below)
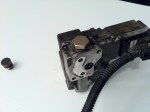
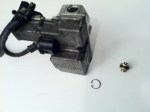
The Powertrack Insert; The best way to improve your Haldex first generation traction!
*Introduction-
We’ve been contacted to write a technical article about the Powertrack Insert we have developed. The Powertrack Insert has been designed to increase the rear traction at an affordable cost. While some products were already sold on the market we think there still a lot of room for our products.
*Design philosophy-
Basically, the Powertrack Insert development idea was: Why make it complicated when it can be done simply and efficiently. The addition of the Powertrack Insert to your Haldex unit basically gives mechanically the same result as using the most hardcore of the electronic aftermarket control module.
*How does it works at first-
The best way to understand what the product does exactly is to first understand how the stock system works. The Haldex unit includes, a pre-charge pump, an electronic control module, a wet clutch pack and a hydraulic system including mechanical components and oil galleries.
As soon your car is started and the engine reaches 400 RPM, the pre-charge pump is activated and will build a pressure of 4 bars in the hydraulic system. The pre-charge pump is always running when the engine is running. That pre-charge action is crucial because the oil that are in the galleries drain by gravity each time you stop the car and is replaced by air. Because air is compressible and that you need pressure to operate different actions in the system, nothing will happen without a properly working pre-charge pump.
Working pressure in a Haldex unit is not created by the pre-charge pump and whatever you use your Haldex stock, electronically or mechanically upgraded or with the Powertrack Insert, the pre-charge pump do its job the same way with no difference and no more stress applied on it.
With an electronic controller, particularly in the stock configuration, the system is always in reaction to events. At first, in order to operate the clutch pack, the unit needs to have a high pressure build up. That high pressure is created mechanically by components inside the hydraulic system. When front wheels are slipping a face cam is climbing on a ramp, moving a piston and giving a high oil pressure. Because the system is already pressurised by the pre-charge pump, the high pressure is created very fast. Once that high pressure is available for the system to work, the controller can start his job.
Basically the controller has to be seeing like a guard closing a gate when he receives the information to do it. Each time the gate is closed the high pressure build up on the clutch actuator and the clutch squeezes harder according to how much the gate is closed. The problem in the stock configuration is that the informations that are sent to that guard are first: always a little bit late and second: unclear about how much the gate should be closed. Even if all the control modules and various sensors work relatively fast, it involves a small delay that is perceptible to the driver. The best example is felt on hard launch. There is a kind of “neck breaking wave” that is felt into the car. The more powerful the car is, the more you feel it into the car. That is happening because the guard never know how fast he has to close the gate and how much it should be kept open or close.
*When you swap for an aftermarket controller-
With aftermarket controller these situations are interpreted differently depending on the mapping the controller received. The gate may close faster and may be closed completely each time. Therefore, you never know how much and fast exactly this is happening. Therefore, with an aftermarket controller, you still benefit with the possibility for the gate to remains open in various situations depending again on the mapping the ECU you have.
*The Powertrack Insert difference-
The Powertrack Insert while being a completely mechanical device will allow your system electronics to work completely without sending any malfunction light. Using that device you still have that guard opening and closing the gate therefore there is a major restriction at the gate that keeps the pressure at the highest acceptable when needed. It is important to know that high operated pressure doesn’t means over pressure. The Haldex unit has built-in series of hydraulic valves to regulate and control inside hydraulic pressure. The unit while being controlled by electrical device for a smoother operation to the “grand public” should be known also as a state of the art mechanical assembly that doesn’t need any electronics to work properly. That is why with the Powertrack Insert, for those who are swapping rear axle to build AWD cars, you don’t need any current at the controller and swapped in electronics. Only the pre-charge pump needs to be wired to a 12V source and “GO”.
*Mechanical replacement controller unit.
You can find also on the market some mechanical replacement for Haldex controller. They will work for sure. Therefore while it’s been talked somewhere they make rear traction adjustable, you should be aware that intermediate pressure positions are dangerous for your system. While they happen on a stock configuration, they only occur to smooth out operations of the clutch engagement and are not continuous conditions. By maintaining an intermediate pressure condition on the clutch pack while requesting lots of rear traction like hard launch from stop or low speed corner exit followed by a full throttle repeatedly, you get the best way to prematurely wear the clutch pack and eventually make it fails. Also, that kind of system won’t support any electrical function. It may also be a choice for complete rear axle swap mechanically operated.
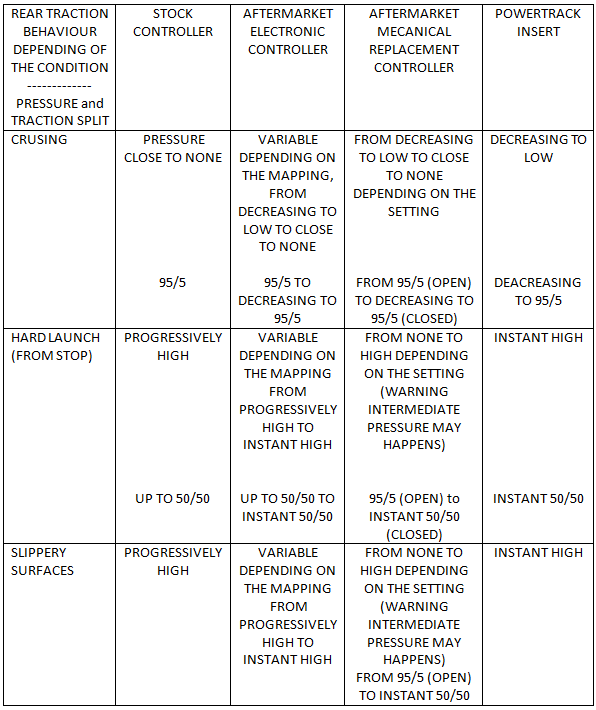
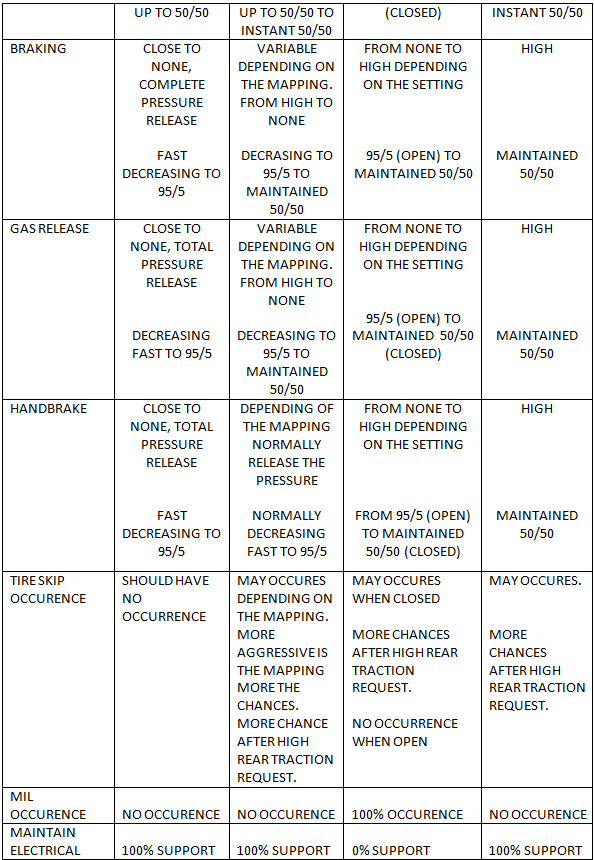
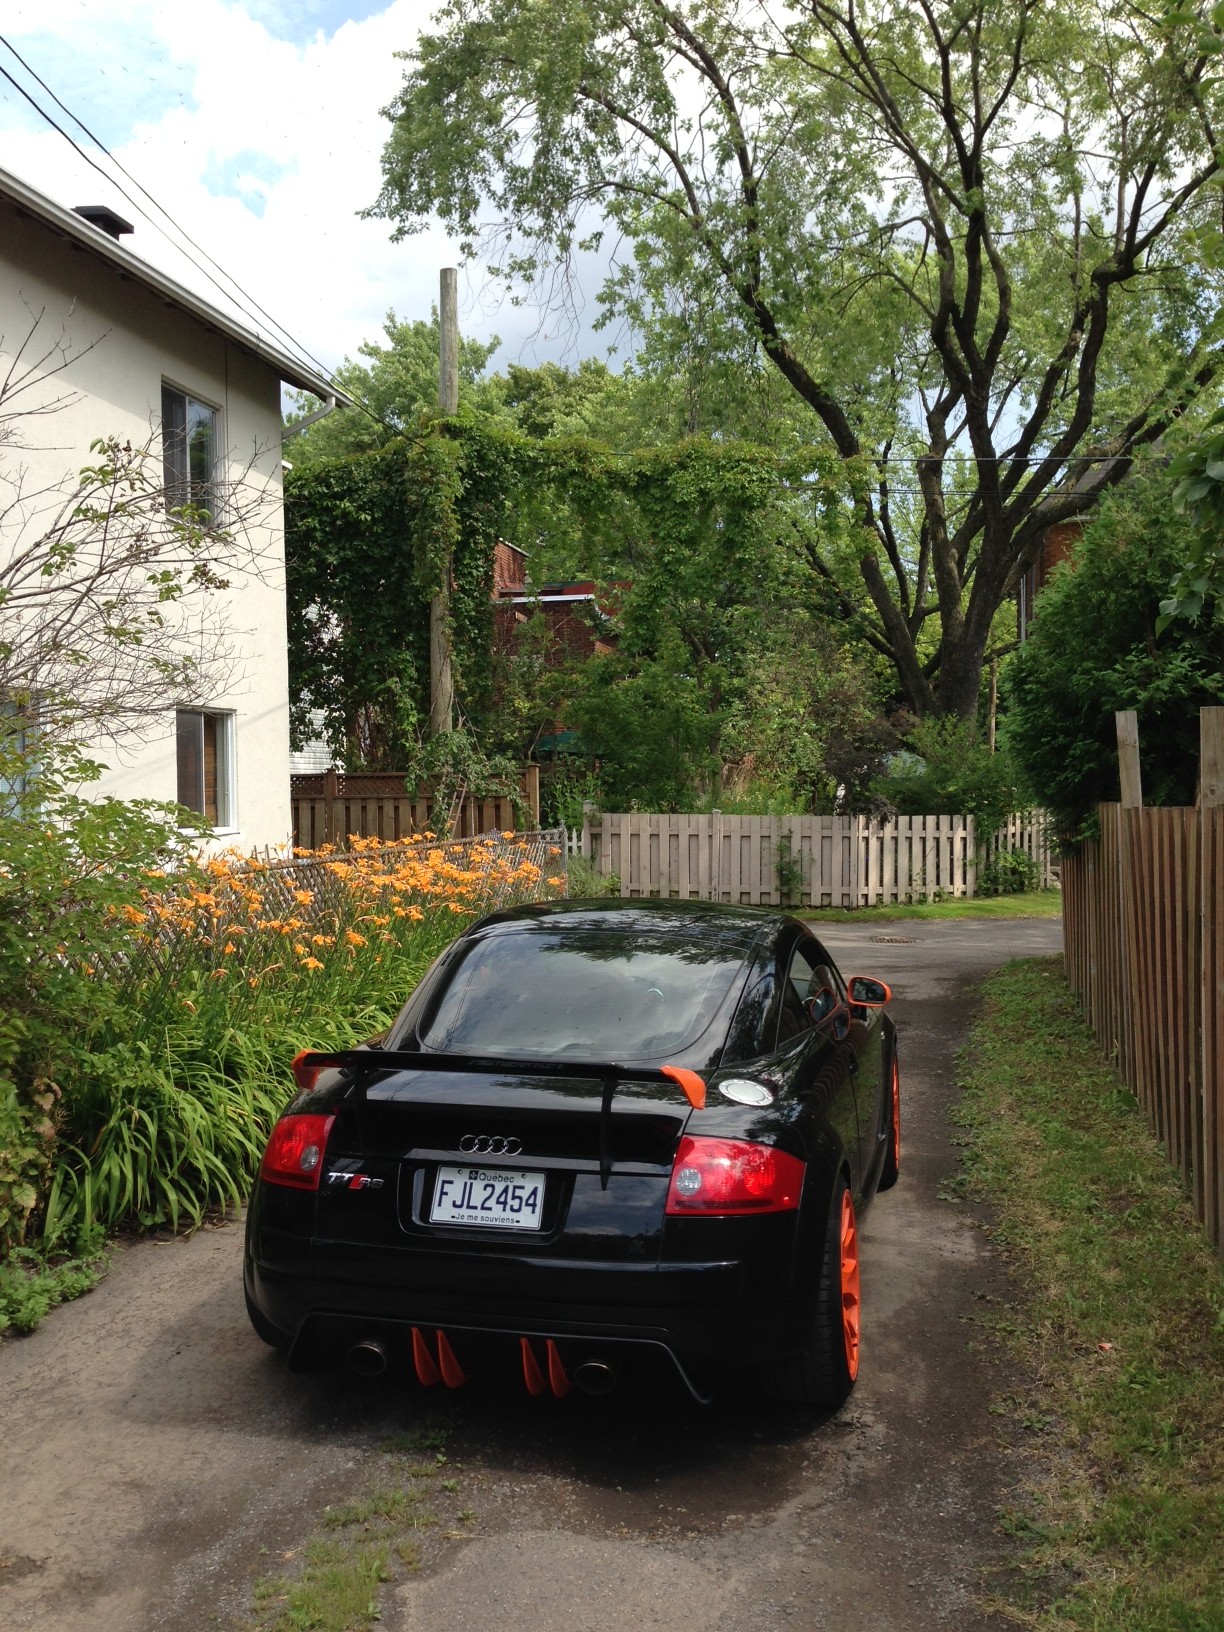
*Some comparisons-
Here is a table to help you compare the various traction enhancer systems in different conditions. The numbers have been not measured on bench but are given on a matter of comparison to show the impact of the pressure applied on the clutch pack in a given condition. Except when the previous state is written as stopped, we consider the Haldex unit was solicited just before the measurement to the exposed condition.
We hope all these explanations will help you to understand how your system is working and which product suits best for your usage. Feel free to consult Your_Haldex_Works facebook page for more informations and if you need to ask more questions. We would like also to give a big thanks to André-Martin Hobbs of https://audittrs.wordpress.com/ to give us the opportunity the talk about our product!
Long story short, I decided to get DMC’s Widebody. It’s being made as I write this and will soon be shipped from Germany. Some pics below.
On another note, I sent my ECU to United Motorsports in New Haven, CT, USA. I had several issues with my Unitronic (Canada) software and they apparently couldn’t fix it. So I decided to give United a shot and see if they can make a good software for my 3.2 Turbo with DSG. I also Learned that Unitronic Canada and Europe is apparently not the same company. Not sure if they even talk. One thing is for sure, a few fellows in UK have 3.2Ts and 3.6Ts with European Unitronic and have no complaints.
Time will tell, I’ll let you guys know how it turns out.